Learning how to lace hiking shoes is the cheapest upgrade in hiking. Low-cut hiking shoes and trail runners hold your foot with laces alone, with no stiff ankle cuff to back them up, so the lacing pattern is doing all of the work. Get it right and your heel stays put, your toes keep their room on descents, and hot spots never turn into blisters. Get it wrong and the best shoe on the market will still rub you raw by mile six.
This guide covers six hiking shoe lacing techniques, when to use each one, and how to fix the problems that show up mid hike. Every one of them takes under a minute at the trailhead.
How to lace hiking shoes: the short version
If you only do one thing, do this:
- Lace loose over the toes. Keep the bottom two eyelet pairs relaxed so your toes can splay and swell.
- Snug through the midfoot. Firm, even tension across the arch and instep is what stops your foot sliding forward.
- Lock the heel at the top eyelet. Use the extra eyelet at the very top of the shoe to build a heel lock, also called a runner's loop or lace lock. This is the single technique that ends heel slip.
- Finish with a knot that holds. A double bow or a surgeon's knot on the final tie, so you are not stopping every mile to redo it.
That combination fixes the overwhelming majority of hiking shoe fit complaints. Everything below is how to adapt it to your feet and your terrain.
Watch the finishing knot in action
The final knot is where most hikers lose all the tension they just built. Here is the one we tie:
 Watch, 44 seconds
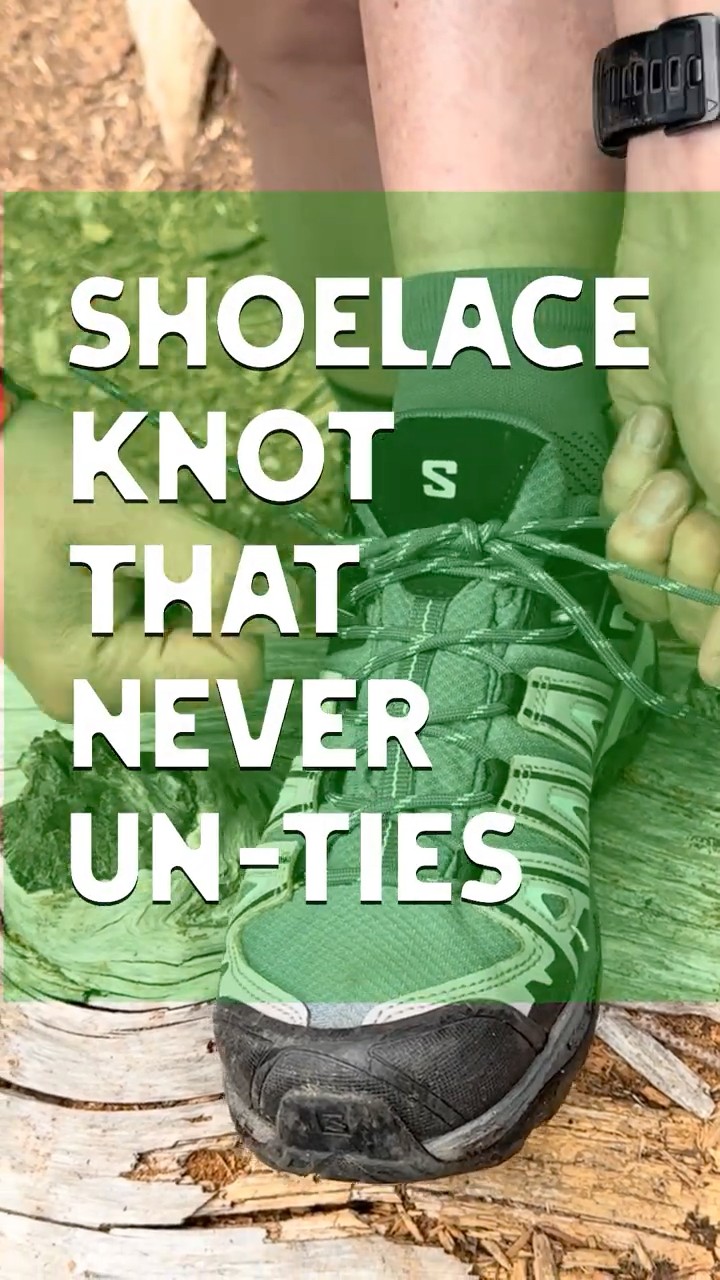
The shoelace knot that never un-ties
Eugene from Team ExplorOFF ties the finishing knot we use on every hiking shoe. It is the fix for laces that come loose two miles in, and it takes one extra second at the trailhead.
Watch on YouTube →
Watch, 44 seconds
The shoelace knot that never un-ties
Eugene from Team ExplorOFF ties the finishing knot we use on every hiking shoe. It is the fix for laces that come loose two miles in, and it takes one extra second at the trailhead.
Watch on YouTube →
Hiking shoes lace differently than boots
A boot has speed hooks and a padded ankle cuff, so the upper half of the lacing controls ankle support. A hiking shoe has none of that. Everything happens below the ankle bone, across a shorter run of eyelets, on a softer upper that stretches as it warms up. Three practical consequences:
- The top eyelet matters more. That last eyelet, often set slightly back or offset from the rest, exists so you can build a heel lock. On most shoes it goes unused, which is why so many people think their shoes cause heel slip.
- Tension leaks faster. Mesh and knit uppers relax within the first mile. Expect to re-tighten once, early, then settle in.
- You cannot brute force ankle support. Cranking the laces to compensate for a low cut just cuts off circulation across the top of your foot. Zone your tension instead.
If you hike in mid or high cut boots too, our companion guide on how to lace hiking boots covers the hook and D-ring techniques that only apply to taller footwear. Still deciding which to buy? See hiking boots vs hiking shoes.
Know your eyelets before you start
Look down at your shoe. Most hiking shoes have five to seven eyelet pairs, and they are not interchangeable:
- Toe eyelets (pairs 1 to 2): control toe box volume. Loosest zone on the shoe.
- Midfoot eyelets (pairs 3 to 5): the working zone. This is where you hold the foot back off the toe box.
- Top eyelet (the last pair): the heel lock anchor. On Salomon, Merrell, Keen, Hoka, and most La Sportiva models this pair sits slightly higher or further back on purpose.
Once you can name the three zones, every technique below is just a decision about which zone gets more or less pressure.
Technique 1: the heel lock (runner's loop)
Heel lock lacing is the highest value hiking shoe lacing technique there is. It creates an independent anchor at the top of the shoe that pins your heel into the heel cup, and it stops the forward slide that causes both heel blisters and bruised toenails.
- Lace normally up to the second to last eyelet pair.
- Take the left lace and thread it up into the last left eyelet from the outside, leaving a small loop of slack against the side of the shoe. Do the same on the right. You now have two vertical loops, one per side.
- Cross the laces and thread each lace end through the opposite loop, left through the right loop, right through the left loop.
- Pull straight down and back, not up. The loops cinch and pin your heel.
- Tie your finishing knot as usual.
Test it: stand up and lift your heel inside the shoe. The shoe should lift with your foot. If your heel moves and the shoe stays put, tighten the midfoot first, then redo the lock.
Technique 2: the surgeon's knot for zoned tension
A surgeon's knot lets you hold two different tensions in the same shoe, which is exactly what you need when your toes want room and your midfoot wants a grip.
- Lace up to the point where you want the tension to change, usually the third eyelet pair.
- Cross the laces and wrap one lace around the other twice instead of once.
- Pull tight. The double wrap creates enough friction that the tension below the knot cannot escape upward.
- Continue lacing above it at whatever tension you want.
Use one surgeon's knot below the ankle flex point to keep the forefoot loose and the midfoot locked. Use two, one low and one high, when you need a genuinely loose toe box and a genuinely tight heel on the same foot. It is also the trick that stops laces on stretchy knit uppers from gradually loosening as you walk.
Technique 3: window lacing for pressure points
Window lacing, sometimes called skip lacing or box lacing, removes pressure from one specific spot on the top of your foot. It is the answer for a high instep, a tendon that flares up, a bone spur, or a hot spot that has already started.
- Lace normally to just below the painful spot.
- Instead of crossing, run each lace straight up its own side to the next eyelet, skipping the crossover.
- Resume normal crossed lacing above the sore area.
The gap in the crossing pattern is the window. Nothing presses on that zone anymore, and you have not given up tension anywhere else. This is the single best mid hike fix when the top of your foot starts to ache or your toes tingle.
Technique 4: toe relief lacing for descents and black toenails
If you lose toenails on long descents, your foot is slamming forward into the toe box. Most hikers try to fix that by tightening everything, which only crushes the toes faster.
- Unlace the bottom eyelet pair completely, or lace it with almost no tension.
- Put a surgeon's knot at the third eyelet pair so the loose toe zone stays loose.
- Tighten the midfoot firmly above the knot.
- Add a heel lock at the top.
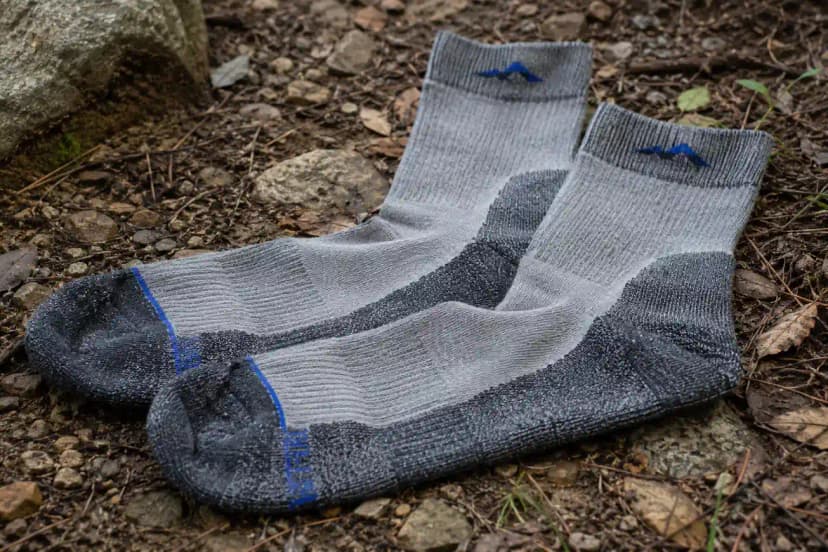
The foot is now held back by the midfoot and the heel rather than being stopped by the front of the shoe. Do this at the top of any sustained descent, along with a half size of extra room when you buy, and black toenails largely go away. Pair it with the right sock, our picks are in the best hiking socks guide.
Technique 5: parallel lacing for wide feet and bunions
Crossed lacing pulls the two sides of the upper toward each other, which squeezes a wide forefoot. Parallel lacing, also called straight bar lacing, runs the laces horizontally across the shoe instead of diagonally.
- Thread the lace straight across the bottom eyelet pair.
- Run each end straight up on its own side, skipping one eyelet, then straight across to the other side.
- Repeat, alternating, so every visible lace segment is horizontal.
The result is even, gentle pressure with no diagonal pull toward the midline, which is a real relief over a bunion or a wide forefoot. Keep a heel lock at the top, because parallel lacing on its own does not hold the heel. If you are between models, see the best hiking shoes for wide feet.
Technique 6: extra crossover for narrow, low volume feet
If your foot swims in the shoe even when the laces are tight, the problem is volume, not length. Two fixes:
- Double crossover: at the midfoot, cross the laces twice between eyelet pairs instead of once. The extra wrap takes up slack and closes the upper further.
- Use the tongue loop: the fabric loop on the tongue is not decorative. Run a lace through it, and the tongue stops sliding sideways, which alone accounts for a lot of perceived sloppiness.
A thicker sock or an aftermarket insole also removes volume, often more effectively than lacing can.
Which lacing technique fixes which problem
| Problem on trail | Technique | Where on the shoe |
|---|---|---|
| Heel lifting, heel blisters | Heel lock (runner's loop) | Top eyelet pair |
| Bruised toes, black toenails | Toe relief plus surgeon's knot | Bottom two pairs, lock at pair 3 |
| Pain or tingling on top of foot | Window (skip) lacing | Over the sore spot only |
| Wide forefoot, bunion pressure | Parallel (straight bar) lacing | Whole shoe, keep the heel lock |
| Foot swimming in the shoe | Double crossover plus tongue loop | Midfoot |
| Laces loosening every mile | Surgeon's knot plus double bow | Midfoot and finishing knot |
| Shoes tight uphill, loose downhill | Re-lace at the pass | Midfoot and heel |
Quick lace systems: Salomon, Boa, and speed laces
Not every hiking shoe has traditional laces, and the techniques change:
- Salomon Quicklace and similar single pull cords: one cord means one tension across the whole shoe, which is the trade off for the convenience. You can fake zoning by pulling the cord tight, then holding the midfoot section and pushing slack down toward the toes before you lock the slider. Always tuck the tail into the tongue pocket, a loose cord catches on brush.
- Boa dials: tighten in small clicks while standing, not sitting, and back off two clicks before a long descent so your forefoot has room. Many Boa shoes let you push slack toward the toe box by lifting the wire before dialing.
- Hybrid systems (dial on top, laces below): set the lower laces once at home and use the dial for on trail adjustment.
If you are replacing a snapped Quicklace cord in the field, a spare shoelace threaded through the eyelets and tied off works fine for the walk out. Carry one.
Lacing by terrain
Flat trail
Moderate tension everywhere, heel lock in place. Comfort beats lockdown when the ground is not fighting you.
Sustained climb
Loosen the top slightly so your ankle can flex forward, keep the midfoot firm. If the front of your ankle pinches on steep ground, you are too tight up top.
Steep descent
Stop at the top and re-lace. Toe relief at the bottom, surgeon's knot at the midfoot, heel lock at the top. Two minutes here saves your toenails.
Loose rock and scree
Tightest setting you find comfortable, with the heel lock cinched hard. You want zero internal movement when your foot lands on an unstable surface.
Stream crossings
Re-lace after you cross. Wet laces stretch, wet uppers soften, and the fit you set at the trailhead is gone. Wet feet and loose shoes together are how blisters happen fast.
How tight should hiking shoes be laced?
Snug enough that your foot does not move inside the shoe, loose enough that you feel no pressure line across the top of your foot. Practical checks:
- You can slide one finger under the laces at the midfoot with mild resistance.
- Lifting your heel does not lift your heel out of the heel cup.
- You can wiggle every toe.
- No numbness, tingling, or cold toes after 20 minutes. Any of those means loosen now, not later.
Lace them at the end of the day or after a warm up walk, when your feet are already slightly swollen. Feet gain volume over a hiking day, and shoes laced on cold morning feet will feel like a vice by the afternoon.
Laces, length, and spares
Hiking shoe laces are consumable. Replace them when they fray at the aglet, refuse to hold tension, or thin out where they run through the eyelets. A broken lace six miles in is a genuine problem, so throw a spare pair in your pack, they weigh almost nothing and they double as a gear strap, a bear bag cord, or a splint tie.
For a low cut hiking shoe with five to six eyelet pairs, 45 inch (114 cm) laces are the common size, and 54 inch (137 cm) for seven pairs. Flat woven or lightly waxed laces slip less than round nylon, which is the real reason your laces keep coming undone.
Put it together on your next hike
Lace loose at the toes, firm through the midfoot, locked at the heel, and finished with a knot that actually holds. Re-lace at the top of the first big descent and after any water crossing. That routine, plus a decent merino sock, prevents most of the foot problems people accept as part of hiking.
Keep going: how to prevent blisters when hiking, how to treat blisters on the trail, and how to break in new hiking footwear.