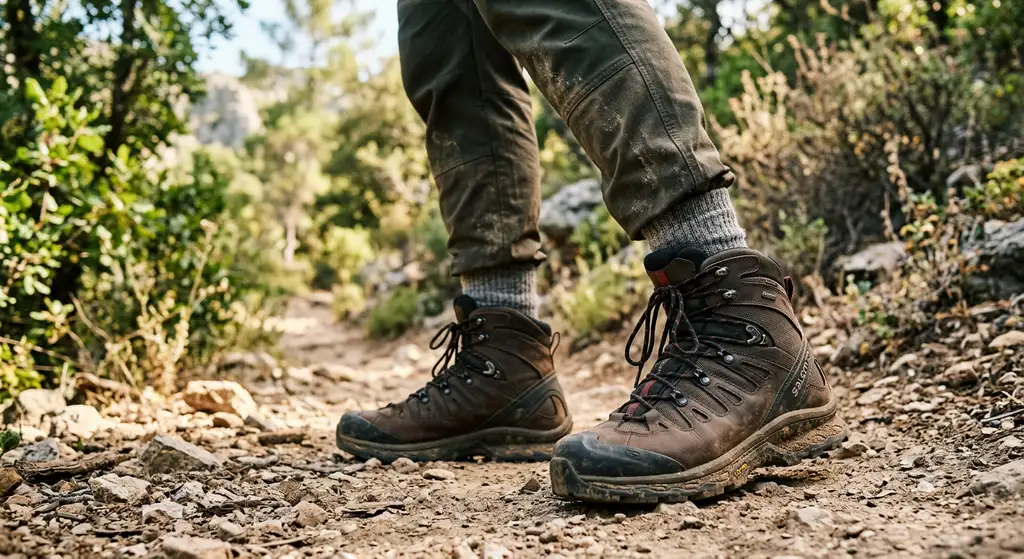
Showing up to a big hike in brand-new hiking boots is one of the most reliable ways to destroy your feet. Leather and stiff synthetic boots need time to conform to your foot shape, but with the right approach you can break them in thoroughly in 2 to 3 weeks without a single painful blister. This guide walks through the exact day-by-day progression, plus the fixes for the hot spots that always seem to show up at the worst possible moment.
Start at Home
Wear your new boots around the house for 1 to 2 hours per day for the first week. Wear the same sock thickness you will hike in (a thin wool liner plus a thicker wool outer, or a good hiking-specific sock). Walking on carpet and hardwood lets the boot flex at your exact pressure points without the risk of being miles from the trailhead when a hot spot forms. Lace them fully, including the upper ankle hooks, so the boot trains in the same configuration you will actually hike in.
Progress to Short Walks
Week two: wear the boots on 30 to 60 minute walks around your neighborhood or a local park. Paved surfaces are actually ideal because they flex the boot predictably and reveal where the leather still resists. Pay attention to any areas of rubbing and address them immediately with moleskin or leukotape before they turn into blisters. Throw in some stairs and a steep curb or two to work the heel and toe box the way real terrain will.
First Trail Outings
Week three: take the boots on short, easy hikes under 5 miles with minimal elevation. Bring blister-prevention supplies just in case. Most boots are ready for big days after 25 to 40 miles of breaking in. Full-grain leather boots take longer than synthetic mid-cut boots, and synthetics in turn take longer than trail runners, which need almost no break-in at all.
Speed Up the Process
- Boot stretchers open up specific tight spots in the toe box or across a wide forefoot overnight.
- Leather conditioner (on leather boots only) softens the material significantly. Apply a thin coat, let it absorb overnight, then walk in them the next day.
- Wet break-in: for all-leather boots, some hikers soak them in warm water for 15 minutes, put them on with hiking socks, and walk until dry so the leather molds to the foot. It works but voids most warranties, so check yours first.
- Targeted heat: a hair dryer on a stiff crease while the boot is on your foot, followed by a short walk, helps the leather take your shape.
Pick the Right Sock and Lacing System
Half the blisters blamed on boots are really sock and lacing problems. A merino or merino-blend sock wicks moisture and reduces the friction that causes hot spots, while a thin liner sock underneath lets the two layers slide against each other instead of against your skin. Avoid 100 percent cotton, which holds sweat and rubs.
Lacing matters just as much. If your heel lifts, use a heel-lock (surgeon's knot) at the ankle hooks to anchor the foot back. If the top of your foot aches, try window lacing to skip the pressure point. Snug the laces before a steep descent so your toes do not slam the front of the toe box, which is what turns your nails black on long downhills.
Fix Hot Spots Before They Become Blisters
The single most important habit is to stop the moment you feel a warm or rubbing spot. A hot spot takes 30 seconds to tape and a blister takes days to heal. Keep these in a small kit and use them early:
- Leukotape or kinesiology tape applied directly over the friction zone (it stays on through sweat far better than a bandage).
- Moleskin or blister cushions with a doughnut hole cut around an existing blister to take pressure off it.
- A spare pair of dry socks: changing socks at lunch resets moisture and dramatically cuts friction on the second half of the day.
Choose Easy Trails for the First Real Test
Once you are at the trail-outing stage, pick forgiving terrain rather than your dream summit. Flat lakeshore loops, rail trails, and short nature trails with packed gravel let the boots flex without punishing mistakes. Save rocky scrambles, long sustained climbs, and anything over 8 miles until the boots have a couple of comfortable shorter hikes behind them. If a hot spot or pinch shows up on a 4-mile loop, you are close to home and can adjust before it matters on a 12-mile day.
Know When Boots Will Not Break In
Breaking in fixes stiffness, not fit. If the boot is genuinely the wrong size or last shape, no amount of conditioner will save it. Return or exchange the boots if you notice any of the following after a couple of weeks:
- Persistent heel slip even with a heel-lock lacing knot.
- Numbness or tingling, which usually means the boot is too narrow or laced too tight across the nerves on top of the foot.
- Pressure on a toenail that does not ease with looser lacing, a sign the boot is too short.
If that is where you have landed, start again with a lighter pair: less structure means far less to break in. Hiking Feet tests over real trail miles rather than on a shop floor, and their lightweight boot roundup is the most honest one we have found.
Most reputable retailers allow returns on boots worn indoors, so do your at-home week before going outside. Never debut new boots on a major hike. Your feet will thank you, especially on day two.
How to Break In Hiking Boots Fast FAQs
Most hiking boots need 25 to 50 miles of break-in mileage before they conform fully to your foot. Trail runners and lightweight hikers often need less (10-20 miles). Full-grain leather mountaineering boots can take 50+ miles. The break-in process goes faster if you wear the boots consistently rather than occasional long sessions.
To some extent, yes. Wear them daily for 1-2 weeks, progressively on harder terrain. Use a boot stretcher for specific pressure points and apply leather conditioner if they are leather. If you have fewer than 10 days, consider trail runners instead -- they require almost no break-in time.