Whether it is winter gear, camera equipment, or a week's worth of food, sometimes your pack is going to be heavy. The difference between suffering under a 40-lb pack and managing it comfortably comes down to fit, technique, and training, not just willpower. A pack over 20% of your body weight changes how you move, so the goal is to spread that load efficiently and keep your spine stacked over your hips.
Fit Your Pack Correctly
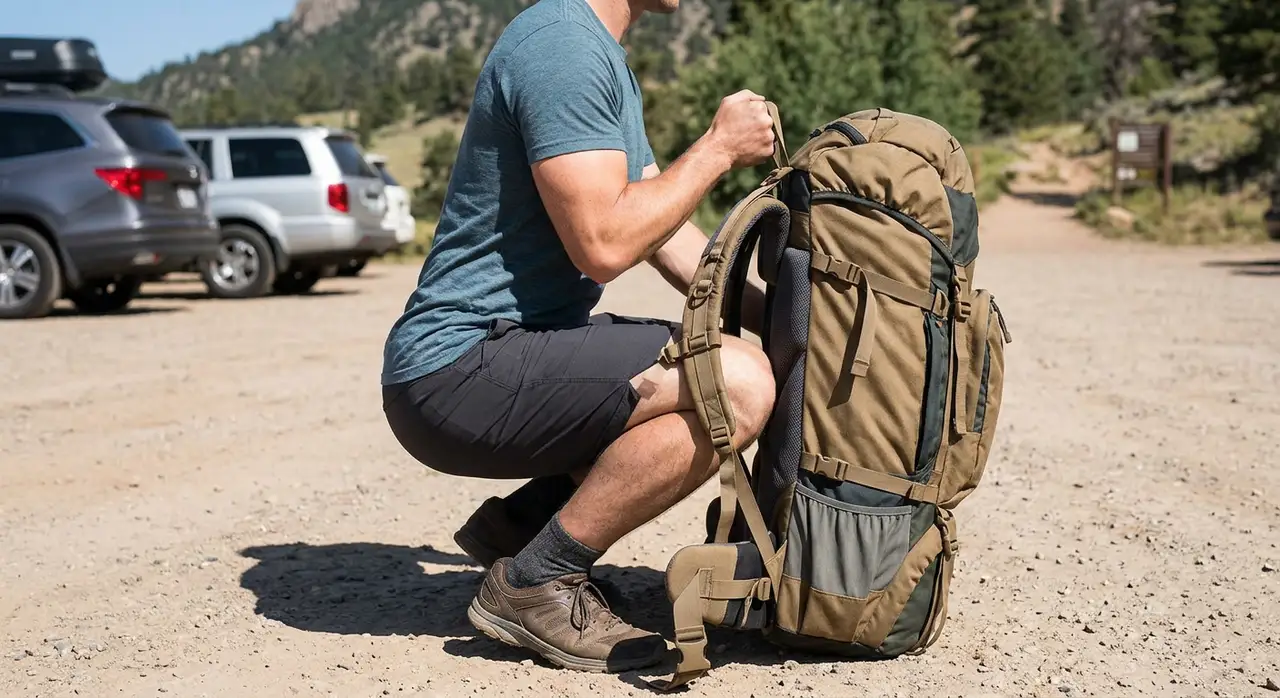
An improperly fitted pack is the leading cause of shoulder and back pain. Key adjustments:
- Hipbelt - 80% of the weight should ride on your hips, not your shoulders. Center the hipbelt over your hip bones and cinch firmly.
- Shoulder straps - should follow the curve of your shoulders without gaps. Adjust the torso length so straps do not pull away from your body at the top.
- Load lifters - the straps above the shoulder straps. Pull them back 45 degrees to bring the load closer to your body.
- Sternum strap - buckle across your chest and adjust to keep shoulder straps parallel, not pulling inward.
Pack Weight Distribution
Heavy items (bear canister, water, food) go close to your spine in the middle of the pack. Medium items fill around them. Light, fluffy items (sleeping bag, jacket) go at the bottom. Items you will access frequently (rain jacket, snacks, map) go in the top lid or hipbelt pockets.
Technique Adjustments for Heavy Loads
With a heavy pack, the rest step technique (briefly locking the back knee on steep terrain) becomes essential. Use trekking poles, they measurably reduce spinal compression and shoulder load. Take frequent short breaks rather than rare long ones.
Strengthen Your Core and Hips
Planks, deadlifts, and hip abductor work build the stability muscles that make heavy packs bearable. Start your training at least 6 weeks before a big trip carrying a weighted pack on your conditioning walks.
Get the Base Weight and Total Weight Right
Two numbers matter. Base weight is everything in your pack except food, water, and fuel (the consumables you burn through). Total weight is base weight plus those consumables. Lightweight backpackers aim for a base weight near 12 to 20 lbs; ultralight hikers push under 10. Water is the heaviest variable you control: it weighs about 2.2 lbs per liter, so on a well-watered trail like the Appalachian Trail in Virginia you can carry just 1 liter and refill often, while a dry stretch of the Pacific Crest Trail through the Mojave may force 5 to 6 liters at once. Plan your fill points so you never carry more water than the next source requires.
- Cut the big three - pack, tent, and sleep system are where the easiest pounds disappear. A 3-lb tent versus a 6-lb tent is a free 3 lbs saved.
- Repackage food - dump boxes and cans; use zip bags. Aim for roughly 1.5 to 2 lbs of food per person per day.
- Skip the duplicates - one pot, one spoon, one fuel canister sized to the trip.
Walk Smart on the Trail
Posture does most of the work on a long climb. Lean slightly forward from the ankles so the pack's weight loads through your hips and legs rather than your lower back. Keep your steps short and your cadence steady on grades like the relentless switchbacks up to Half Dome in Yosemite or the climb to Camp Muir on Mount Rainier. On descents, shorten your stride and use poles to absorb impact, since a heavy pack multiplies the force on your knees. If your shoulders start to ache, do a load shift: loosen the hipbelt for a moment, hike up the pack with both hands, and re-cinch the belt higher to reset where the weight rides.
Care for Your Feet, Hips, and Shoulders
Heavy loads cause more hot spots because every step lands harder. Wear boots or trail runners a half size up to allow for foot swelling, lace them snug over the instep to lock the heel, and pre-tape known hot spots before they blister. Carry blister patches and treat any rubbing the instant you feel it. Where the hipbelt sits, thin liner shorts or a base layer prevent chafing on long days. If your collarbones bruise under the straps, the load is sitting too high on your shoulders, which means the hipbelt needs to carry more.
Train With the Weight You Will Carry
Specificity wins. Do not train for a 35-lb pack by walking with 15. In the final weeks, load your actual pack and walk hills, adding a few pounds each week until you reach trip weight. A simple progression:
- Weeks 1 to 2 - 50% of target weight, flat ground, 3 to 4 miles.
- Weeks 3 to 4 - 75% of weight, add stairs or hills, 5 to 6 miles.
- Weeks 5 to 6 - full weight on terrain similar to your route, back-to-back days to build durability.
By race day your body, your boots, and your pack fit will all be dialed in, and a heavy load that once felt punishing will feel like just another part of the adventure.
How to Hike with a Heavy Backpack Comfortably FAQs
A common guideline is that your pack should not exceed 30% of your body weight. For most backpackers, base weight (without food and water) under 20 lbs is comfortable; under 12 lbs is ultralight. Total pack weight over 45-50 lbs becomes a fitness and injury risk factor for most people.
Usually a torso length mismatch. If the pack is too long or short for your torso, the shoulder straps cannot sit in the right position. Have your torso length measured at an outdoor gear store and compare it to the pack's recommended range. Also check that load lifters are angled at 45 degrees -- they pull the top of the pack toward your body and off your shoulders.