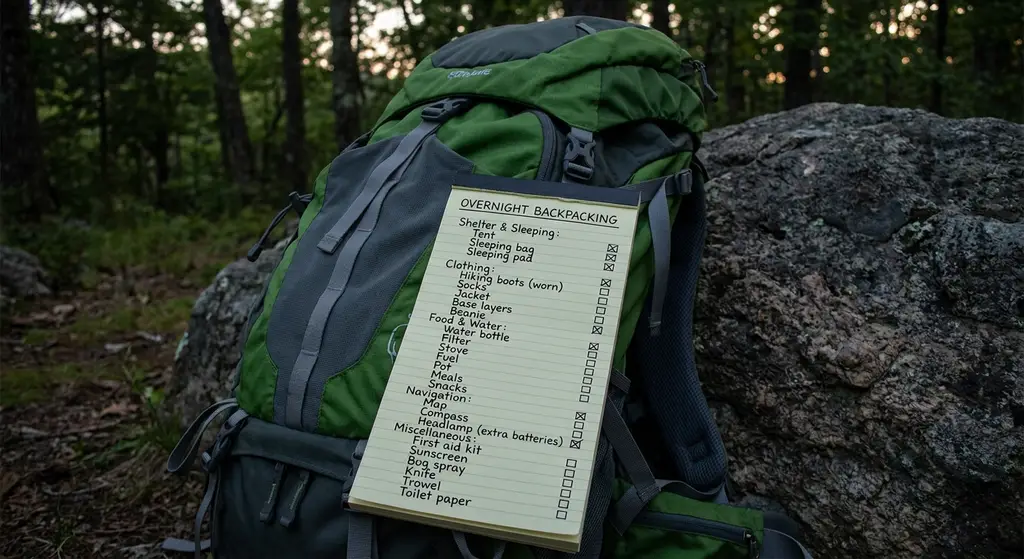
The Goal: A Pack Under 30 Pounds
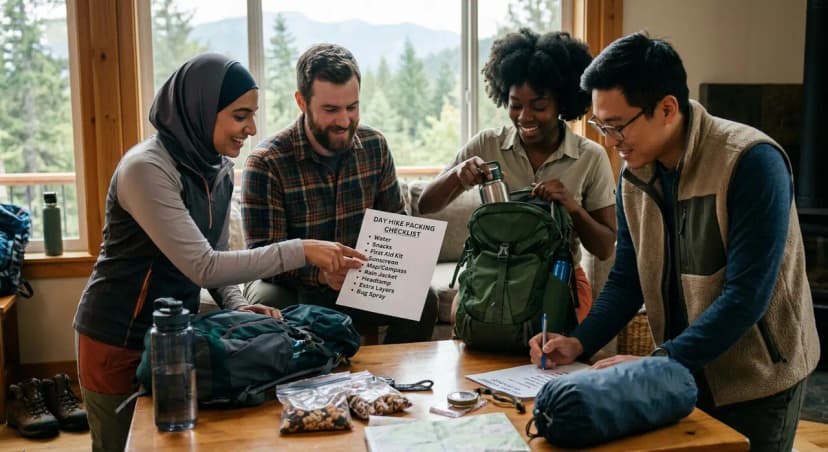
For a one-night trip, your base pack weight (everything except food, water, and fuel) should ideally be under 20 lbs. Add food and water and you're looking at 25–35 lbs total. Above 35 lbs, most hikers find their enjoyment drops off sharply. The lists below will help you get there without buying all-new gear.
Everything here is organized by category with a weight note. The alternatives listed aren't as light or as premium as the main pick, but they work, and they're significantly cheaper for first-timers who aren't sure if backpacking is for them.
The Big Four: Shelter, Sleep System, Pack, Footwear
These four categories account for most of your total pack weight. Getting them right matters more than everything else combined.
Shelter
- Best value: REI Co-op Half Dome 2+ tent, bomber construction, 5.3 lbs, spacious for two people solo. ~$280. This is the tent most first-timers buy and don't regret.
- Budget: Naturehike Cloud-Up 2, 3.3 lbs, around $130 on Amazon. Not as durable as REI, but adequate for 3-season conditions and a great entry price.
- Ultralight: Big Agnes Copper Spur HV UL2, 2.8 lbs, $550. Worth it if you're committing to backpacking; overkill for a first trip.
For a one-night summer trip in good weather, a tarp or bivy is also an option, but a freestanding tent is more comfortable and forgiving for beginners.
Sleeping Bag
- Choose a temperature rating 10°F below the coldest temperature you expect. Sleeping cold ruins trips. A 20°F bag handles most 3-season camping.
- Best value: REI Co-op Magma 30, 1.8 lbs, 850 fill down, ~$280. Excellent warmth-to-weight for the price.
- Budget: Teton Sports LEEF 0°F bag, 4.5 lbs, much heavier but under $80. Fine for a first trip where you want to try backpacking without a big investment.
Sleeping Pad
Often overlooked. A sleeping pad does two jobs: insulates you from the cold ground (your bag alone doesn't, you compress the insulation you're lying on) and provides cushion for sleep. Insulation value is measured in R-value, for 3-season use, aim for R-3 or higher.
- Best value: Therm-a-Rest NeoAir XLite NXT, 12 oz, R-4.5, ~$220. Expensive but worth every dollar for comfort and warmth.
- Budget: Klymit Static V2, 1.6 lbs, R-1.3, ~$70. Heavy for backpacking and not warm enough for cold nights, but fine for summer trips when you're starting out.
Pack
For an overnight trip, 40–55L is the right range. Bigger packs encourage bringing more gear (bad). Smaller packs require skills you'll develop later.
- Best value: Osprey Atmos AG 50 (men's) or Aura AG 50 (women's), 4.6 lbs, excellent suspension, ~$300. The most popular backpacking pack for a reason.
- Budget: Teton Sports Scout 3400, 4.3 lbs, ~$80. Heavier components but a solid functional pack for first-timers. Don't buy cheap hiking packs, they cause back pain on loaded carries.
The Sleep System Setup
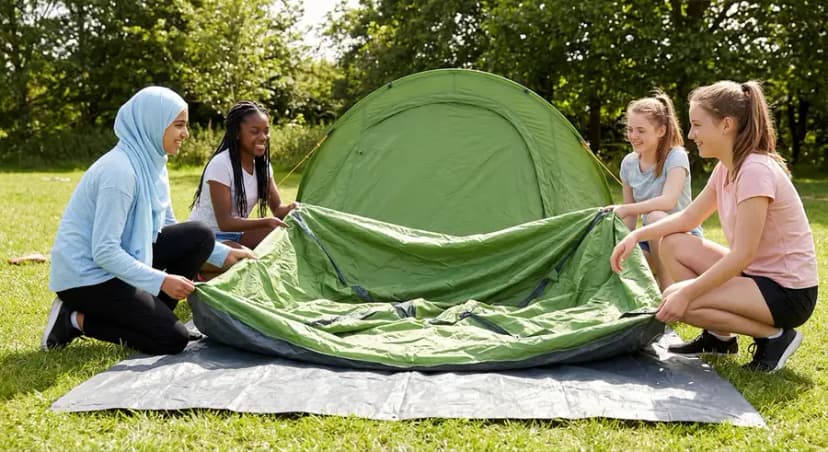
Before your trip, set up your tent in the backyard. Stakes, poles, and guy lines should be familiar before you're doing it at 8pm with tired hands. This also lets you check for missing components or broken poles.
Clothing: The Layering System
- Base layer: Synthetic or merino wool top and bottom. No cotton, it stays wet. Patagonia Capilene or Smartwool 150.
- Insulating layer: Down or synthetic puffy jacket. You'll wear this at camp when you stop moving and your body heat drops. Patagonia Down Sweater, Nano Puff, or any well-reviewed synthetic puffy in the $100–200 range.
- Rain shell: Waterproof and breathable. Frogg Toggs is the budget option ($30); Outdoor Research Helium II is a solid mid-range shell (~$200).
- Hiking layers: One or two moisture-wicking t-shirts or long sleeves depending on weather, and hiking pants or shorts. Avoid jeans.
- Sleep-specific clothes: One clean set only for sleeping, getting into your sleeping bag in sweaty trail clothes degrades bag insulation over time.
- Socks: Minimum 2 pairs of wool hiking socks (Darn Tough or Smartwool). Change socks mid-day if your feet are wet.
- Beanie and gloves: Even in summer, mountain nights get cold. A lightweight beanie weighs almost nothing.
The Kitchen
- Stove: MSR PocketRocket 2 stove (~$50) with one 100g isobutane canister. Weighs 2.6 oz, boils a liter in 3.5 minutes.
- Pot: A 750ml titanium pot (Toaks is the budget-friendly brand, ~$35) handles cooking for one. Don't bring a full kitchen.
- Food: For a one-night trip, plan 1.5–2 lbs of food per person per day. Freeze-dried meals (Mountain House, Backpacker's Pantry) are convenient but expensive. Instant oatmeal, instant mashed potatoes, ramen, tortillas with peanut butter, and hard cheese are all lightweight and cheap alternatives.
- Utensil: A long-handled spoon (Snow Peak titanium, ~$15) is the only utensil you actually need.
- Water filter: Sawyer Squeeze (~$30) is the most popular ultralight option. Screw it directly onto the Sawyer bag or a standard disposable water bottle. Filter all backcountry water sources, don't drink straight from streams.
- Collapsible water bottles: Bring 2L capacity minimum (Smartwater bottles or a hydration reservoir).
Navigation
- Download the trail to AllTrails or Gaia GPS before you leave, do not rely on cell service in the backcountry.
- A paper map of the area is a backup worth carrying. Many backcountry trailheads have maps posted; photograph it with your phone.
- A small compass. Know the basics of how to use it before you go.
Safety and First Aid
- First aid kit: blister supplies (Leukotape, moleskin), ibuprofen, antihistamine, bandages, antiseptic wipes, SAM splint.
- Headlamp with fresh batteries (Black Diamond Spot is the standard recommendation).
- Emergency whistle and signal mirror.
- Fire starter: lighter plus waterproof matches. Know fire regulations for your specific area.
- Emergency bivy: a lightweight emergency sleeping bag (SOL Escape Bivy, 8.5 oz) weighs almost nothing and can save your life if conditions change unexpectedly.
Toiletries and Leave No Trace
- Trowel for cat holes (bury human waste 200 feet from water, trails, and camp, 6 inches deep).
- Biodegradable soap (Dr. Bronner's castile soap).
- Waste bags for all trash, leave no trace means packing everything out.
- Bear canister or Ursack if required in your area. Check regulations. Many popular backcountry areas mandate bear canisters.
What to Leave Behind
This is where most first-timers go wrong, bringing too much. Leave behind: more than 2 books or heavy reading material, a full-size pillow (stuff a dry bag with clothes), the camp chair unless you're base camping, multiple pairs of shoes (trail runners serve as camp shoes too), excessive electronics. Your pack weight is the sum of every decision. Every pound saved is a pound you don't have to carry.
Overnight Backpacking Checklist FAQs
For a one-night trip, aim for 25–35 lbs total (including food and water). Base pack weight (without food/water) should ideally be under 20 lbs. Packs over 35 lbs significantly reduce enjoyment and increase injury risk, especially for beginners.
The essentials: shelter (tent or tarp), sleeping bag rated for the temperature, sleeping pad, backpack (40–55L), water filter, stove and fuel, food, navigation (downloaded offline maps), headlamp, rain gear, insulating layer, first aid kit, and 10 essentials. Everything else is optional.
Plan 1.5–2 lbs of food per person per day, or about 2,500–3,500 calories depending on your size and the trip's exertion level. Freeze-dried meals are convenient but expensive. Instant oatmeal, ramen, tortillas with nut butter, and hard cheese are lightweight and budget-friendly alternatives.
Depends on the location. Many popular backcountry areas (Yosemite, the Enchantments, parts of Rocky Mountain NP) require bear canisters by regulation. Check the specific land management agency's website for your destination. Even where not required, proper food storage is both ethical and important for wildlife.
Focus on the Big Four: shelter, sleep system, pack, and footwear, these account for most weight. Eliminate redundancy (one item, one purpose). Leave behind anything you'll use less than once per day. Shift heavy items (food, water) to as-needed rather than maximum amounts. The goal for a one-night trip is a base weight under 20 lbs.