A baseplate compass is the most reliable navigation tool you can carry -- it never needs charging and works in any weather. Learning how to use a compass for hiking is a foundational skill that could one day save your life. Unlike a phone, a compass cannot run out of battery, lose signal in a deep canyon, or shatter when you drop it on granite. It is the one piece of gear that earns its place in every pack, from a quick afternoon loop to a multi-day backcountry traverse.
Parts of a Compass
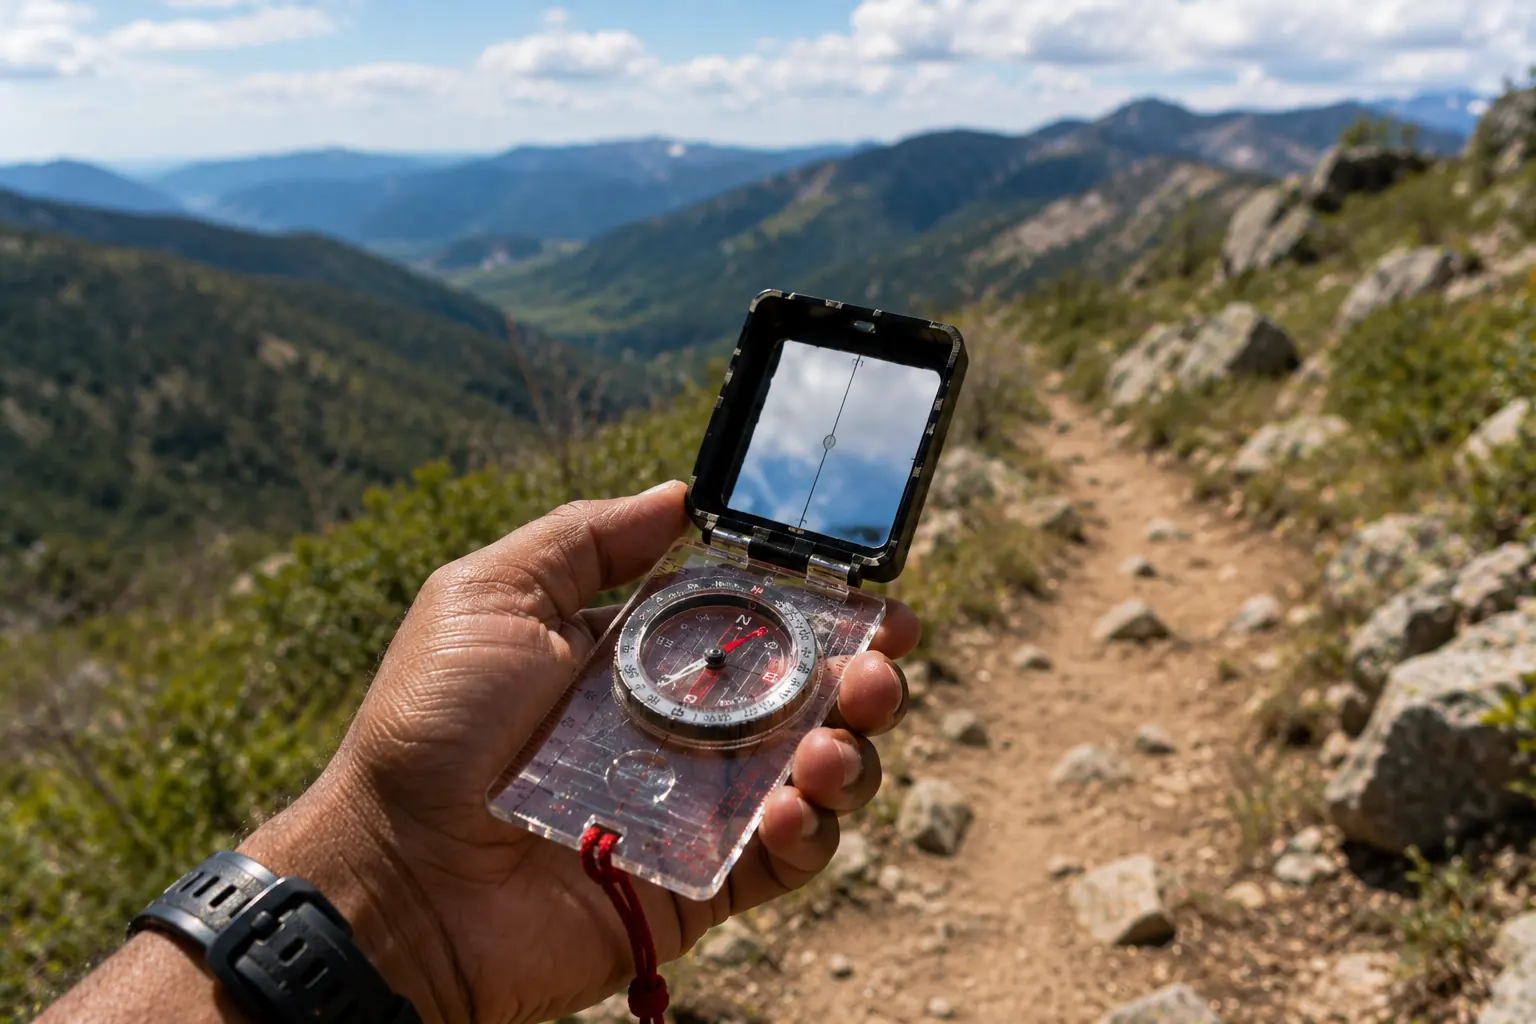
- Baseplate -- the clear plastic platform with ruler edges for measuring map distance
- Rotating bezel -- marked 0-360 degrees
- Magnetic needle -- always points to magnetic north
- Orienting arrow -- fixed inside the bezel housing
- Direction of travel arrow -- on the baseplate
- Index line -- where you read your bearing
Choosing the Right Compass for Hiking
Not every compass belongs on a trail. A button compass dangling from a zipper pull is fine for confirming which way is north, but it cannot take a precise bearing. For real navigation, buy a liquid-filled baseplate compass with a rotating bezel. The liquid dampens the needle so it settles in two or three seconds instead of swinging wildly. Look for these features:
- Adjustable declination -- a small screw that lets you set your local declination once and forget about the math
- A sighting mirror -- for accuracy beyond two degrees on long, open bearings
- A clinometer -- to measure slope angle and assess avalanche terrain in winter
- Luminous markings -- so the needle and bezel are readable at dawn or dusk
The Suunto MC-2 and the Silva Ranger are common workhorses, but any baseplate model with declination adjustment will serve you for years.
Taking a Bearing
- Point the direction of travel arrow at your destination
- Rotate the bezel until the orienting arrow aligns under the magnetic needle ("red in the shed")
- Read the degree at the index line -- that is your bearing
Following a Bearing on the Trail
Hold the compass flat in front of you. Rotate your body until the needle sits inside the orienting arrow. The direction of travel arrow now points your route. Pick a distant landmark in that direction, walk to it, then re-check your bearing. Repeat every few hundred yards in dense forest. This "aim small, move small" habit keeps you on line even when terrain forces you to detour around a blowdown or a marsh.
Accounting for Declination
Magnetic north differs from true north by your local declination value. In the Pacific Northwest, that is about 15 degrees east. In Maine it is roughly 16 degrees west, while along a line through Chicago and the Florida Panhandle it is near zero. Either use a compass with a built-in declination adjustment, or manually add or subtract the degrees. Ignoring declination on a long route can put you hundreds of yards off target. Check the current value for your trip on a recent topo map, since declination drifts a fraction of a degree each year.
Orienting Your Map to the Terrain
Before you take a single bearing, orient the map so it matches the ground in front of you. Lay the compass flat on the map with the edge along a north-south grid line, then turn the entire map and compass together until the magnetic needle lines up with north (adjusted for declination). Suddenly the ridge on paper sits over the real ridge, the river bends the right way, and route choices become obvious. Spend ten seconds doing this at every junction and you will rarely feel lost.
Triangulation: Pinpointing Where You Are
When you know roughly where you are but want certainty, triangulation fixes your exact spot. Identify two or three distinct landmarks you can see and find on the map -- a peak, a tower, a lake outlet. Take a bearing to each one, convert from magnetic to true if needed, then draw each bearing as a line back from that landmark on the map. The point where the lines cross is your position. Three lines that form a tiny triangle instead of a single point is normal; you are standing somewhere inside it.
Practice Drills Before You Need It
Skills fade fast if you only crack the compass open during an emergency. Build confidence with low-stakes reps:
- Backyard bearings -- set a bearing to a tree, walk to it, then reverse the bearing by adding 180 degrees and walk back to your start
- The square walk -- follow four bearings 90 degrees apart and 50 paces each; you should end up where you began
- Pace counting -- learn how many double-steps you take per 100 meters so you can estimate distance when no landmarks exist
- Join a local orienteering club -- timed courses turn navigation into a game and expose your weak spots
Pair your compass with a topographic map and practice the triangulation technique -- within a few outings you will navigate confidently with or without GPS. Carry the compass somewhere accessible, keep it away from your phone and steel water bottle while taking a reading, and treat it as the backup that quietly makes every hike safer.
How to Use a Compass for Hiking FAQs
A bearing is a direction expressed in degrees (0-360) from north. A heading is the direction you are currently traveling. They can be the same, but a bearing is the measurement and a heading is what you actually follow.
Yes, if precision matters. Declination error compounds with distance -- a 15-degree error over 2 miles puts you 800 feet off course. On short, well-marked trails the impact is minimal, but for any off-trail or remote navigation, always apply your local declination.