Downhill hiking puts 4 to 6 times your body weight through your knees with every step. That is why knee pain on descents -- sometimes called hiker's knee or patellofemoral syndrome -- is one of the most common trail injuries. The good news: it is almost entirely preventable with the right technique and preparation. This guide walks through the specific descending technique, gear, and conditioning that keep your knees pain-free, plus how to choose smarter routes so gravity works with you instead of against you.
Why Descents Hurt Your Knees
Going uphill, your muscles do positive (concentric) work and your knees stay relatively protected. Going downhill flips that: your quadriceps must absorb each landing through eccentric contraction, while your patella grinds against the femoral groove under heavy load. Add a loaded backpack, hard-packed dirt, and miles of accumulated fatigue, and the cartilage behind your kneecap takes a beating. Recognizing that descents -- not climbs -- are the danger zone changes how you should pace and prepare for a hike.
Fix Your Downhill Technique
Most knee pain comes from locking out the knee on impact. Instead:
- Keep a slight bend in your knee at all times -- never land with a straight leg
- Take shorter steps -- longer strides force more knee flexion and impact
- Traverse switchbacks -- zigzag across steep slopes rather than going straight down
- Use your whole foot -- land midfoot, not on your heel
- Slow down -- rushing down steep terrain multiplies knee stress
Use Trekking Poles on Descents
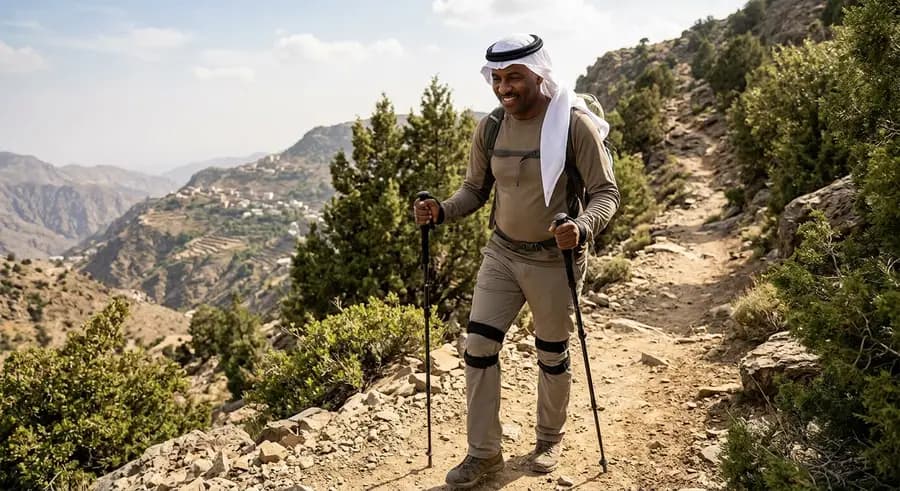
Trekking poles reduce the load on your knees by 20-25% on descents by distributing weight to your arms and shoulders. Set poles slightly longer than for flat walking, plant them in front of you before stepping, and lean into them slightly as you descend. This single change eliminates knee pain for many hikers.
Strengthen These Key Muscles
Weak quadriceps and glutes force the knee to absorb all the shock. Add these exercises to your weekly routine:
- Eccentric squats -- slow the lowering phase (4 seconds down) to build quad strength specifically for descents
- Step-downs -- step off a curb or stair one leg at a time, slowly
- Hip abductor work -- clamshells and lateral band walks prevent the knee-inward collapse that causes pain
Gear Adjustments That Help
Worn-out boot soles amplify impact. Replace boots before the lugs wear flat. Knee sleeves or KT tape can reduce inflammation during long descents. If pain persists after implementing these changes, see a sports physiotherapist -- catching issues early prevents chronic injury.
A 6-Week Pre-Hike Knee Prep Plan
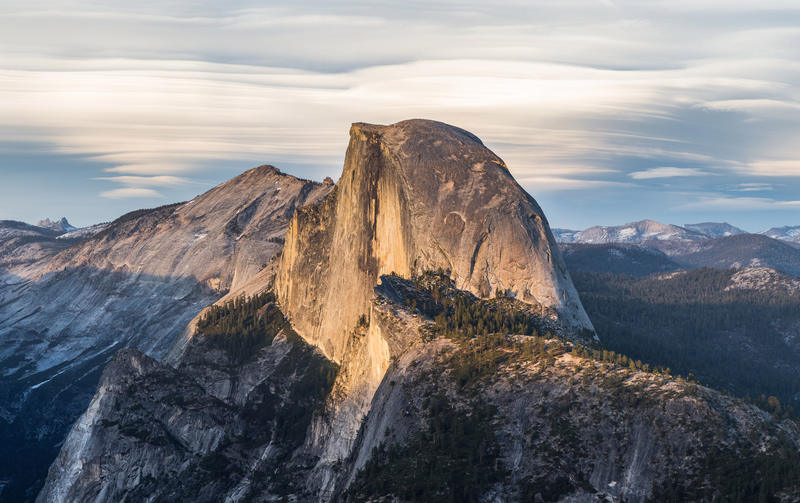
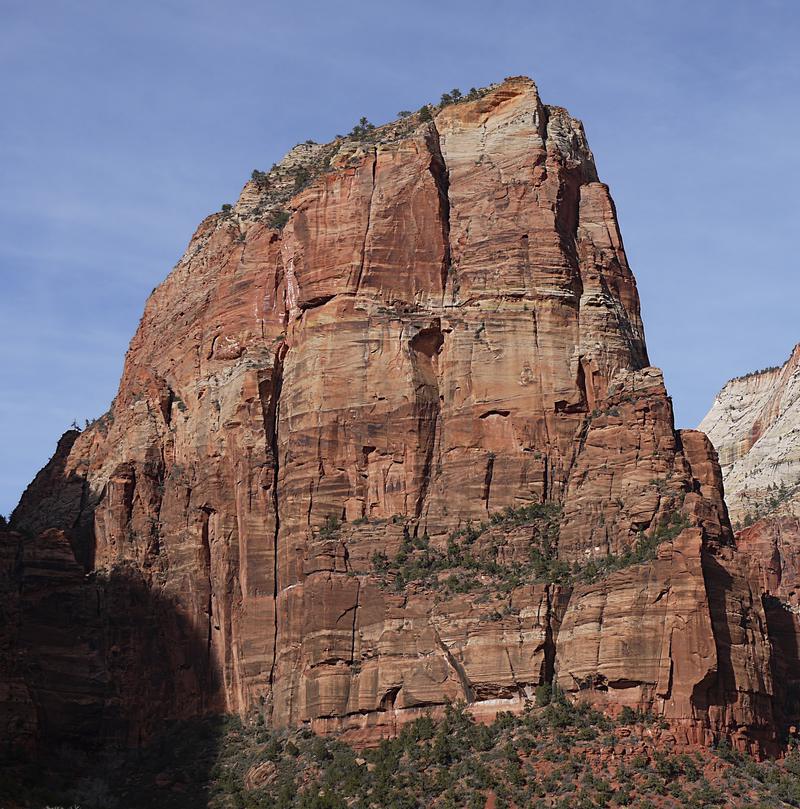
If you have a big descent coming up -- think the long drop off Half Dome in Yosemite, the relentless grade down from Angels Landing in Zion, or the steep return from Mount Washington in New Hampshire -- start training six weeks out. Build eccentric strength gradually so your quads can handle sustained downhill loading:
- Weeks 1-2: 3 sets of 10 slow step-downs per leg, plus 2 sets of 12 eccentric squats, twice a week
- Weeks 3-4: Add a weighted daypack (10-15 lb) and practice on a real hill or stadium stairs once a week
- Weeks 5-6: Do one long training hike with at least 1,500 feet of descent, using poles and your full pack to simulate trip conditions
Tapering the final few days before your trip lets the muscle adapt and repair so you arrive strong rather than sore.
Choose Knee-Friendly Trails and Seasons
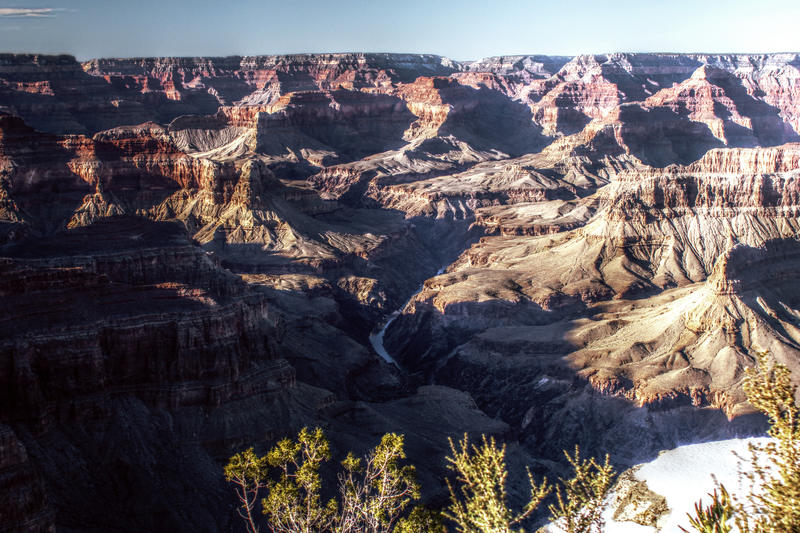
Some routes are simply gentler on the knees. Loop trails let you descend on a different, often shallower grade than you climbed, while well-graded switchback trails spread the elevation loss over more distance. The Bright Angel Trail in Grand Canyon, for example, has a more forgiving descent than the steeper South Kaibab. Choosing the right surface and season matters too:
- Avoid loose scree and rock late in the day when fatigue makes you sloppy -- dry, packed dirt is kinder to your joints
- Favor shoulder seasons (late spring and early fall) when trails are firm but not icy; wet roots and snowmelt mud force jarring micro-corrections
- Plan downhill stretches for early in the hike when your muscles are fresh, or break a long descent with short rests
What to Do If Your Knee Already Hurts on the Trail
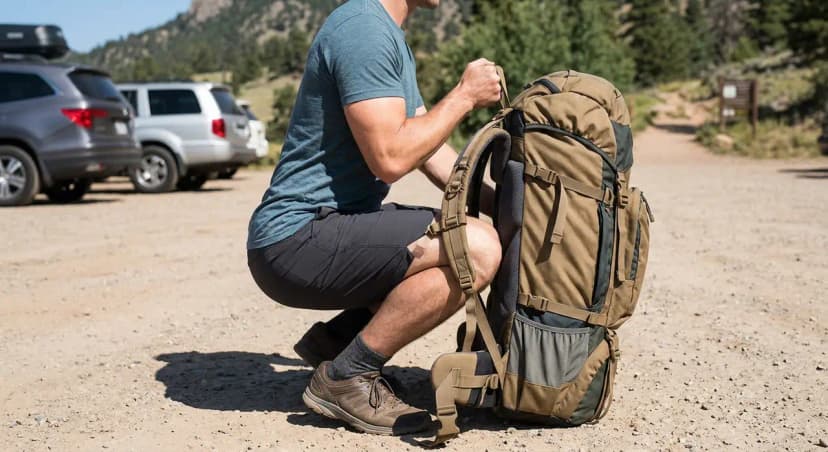
Pain mid-hike is a signal, not something to push through. Stop and shorten your stride, deploy or lengthen your poles, and turn sideways to side-step the steepest pitches. Loosen your pack and shift weight onto your hips so the load is not riding on your shoulders and tipping you forward. A short rest with the leg elevated, plus a knee sleeve for compression, often calms an irritated patella enough to finish safely. Sharp, stabbing pain or swelling means stop the descent and seek help rather than risk a chronic injury that ends your season.
Quick Pre-Descent Checklist
Before you start down any steep section, run through this fast mental list to protect your knees:
- Poles out and adjusted slightly longer than flat-ground length
- Pack snug with weight on the hips, not the shoulders
- Knees soft -- a deliberate bend before the first step
- Steps short and feet landing midfoot
- Line scouted for switchbacks or a gentler traverse
How to Hike Downhill Without Knee Pain FAQs
Descents create much higher impact forces on the knee joint -- 4 to 6 times body weight versus 1 to 2 times on flat ground. The quadriceps work eccentrically (lengthening under load) to control the descent, which is much harder than the concentric work of climbing. Weak quads and poor technique translate directly to knee pain.
Yes, research consistently shows trekking poles reduce knee loading by 20-25% on descents. They shift some of the braking force to your arms and shoulders. For hikers with existing knee issues, poles are often the single biggest difference-maker.