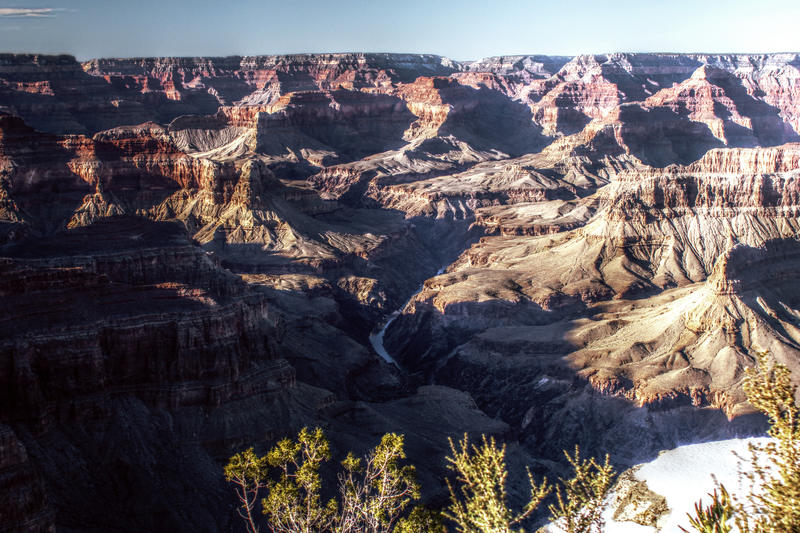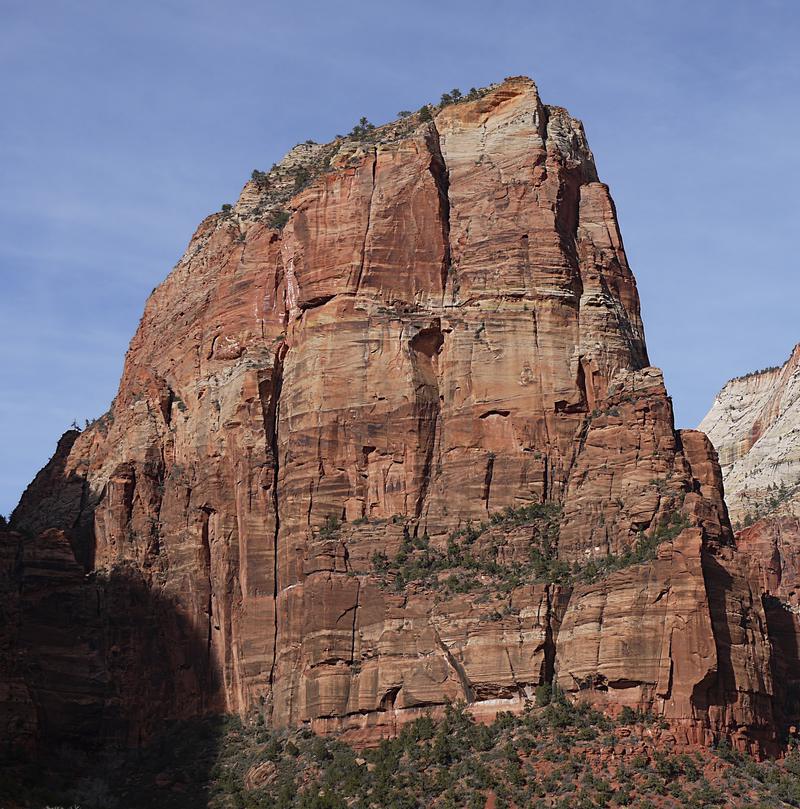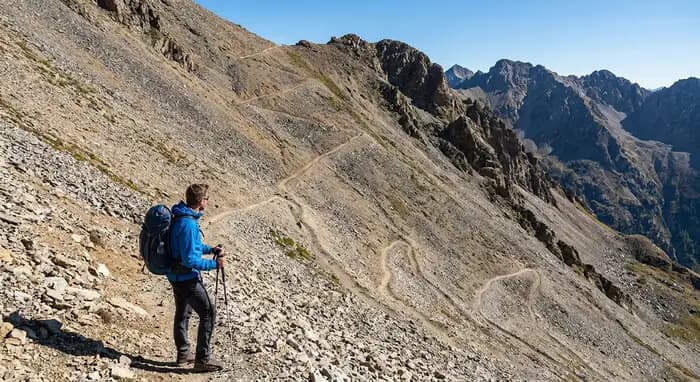
Steep trails are where many hikers struggle -- legs burning, lungs gasping, momentum lost. But steep terrain is also where the best views live, and with proper technique you can tackle serious elevation with noticeably less effort. The key is efficiency, not just fitness. Whether you are grinding up the switchbacks of the Grand Canyon's South Kaibab Trail or descending the loose scree below Angels Landing in Zion, the same fundamentals apply: control your pace, manage your center of gravity, and let your equipment do part of the work.
Uphill Technique
- Rest step -- on very steep terrain, briefly lock your back knee straight with each step to let your skeleton support your weight and give your quads a momentary rest. This is how mountaineers climb thousands of vertical feet without exhaustion.
- Short steps -- take smaller strides than feels natural. This keeps your center of gravity stable and conserves energy.
- Breathe with your steps -- exhale on the uphill foot. Rhythmic breathing reduces perceived effort significantly.
- Lean slightly forward -- keep your weight over your uphill foot, not leaning back.
Trekking Poles on Steep Terrain
Shorten poles 5 to 10cm for climbing steep hills. Plant both poles together, then take one or two steps. This gives you a 4-point contact rhythm that is more stable and uses your arms to take 20% of the load off your legs.
Downhill Technique
- Keep knees slightly bent at all times -- never lock out on impact
- Face into the slope on very steep or exposed sections -- turn around and descend facing the mountain
- Step to the side of slippery rocks and roots rather than on them
- Lengthen trekking poles 5 to 10cm and use them aggressively for stability
Reading the Trail
Look 10 to 15 feet ahead rather than at your feet. Planning your footfalls in advance lets you pick the most stable route and maintain momentum instead of stopping to assess every step.
Pacing and the Talk Test
The single biggest mistake on steep terrain is starting too fast. The first 20 minutes of a climb feel easy, so hikers blast up the initial grade, redline their heart rate, and then crawl the rest of the way. Aim for a pace you can sustain for hours, not minutes. Use the talk test: if you cannot speak a full sentence without gasping, you are going too hard. Slow down until you can.
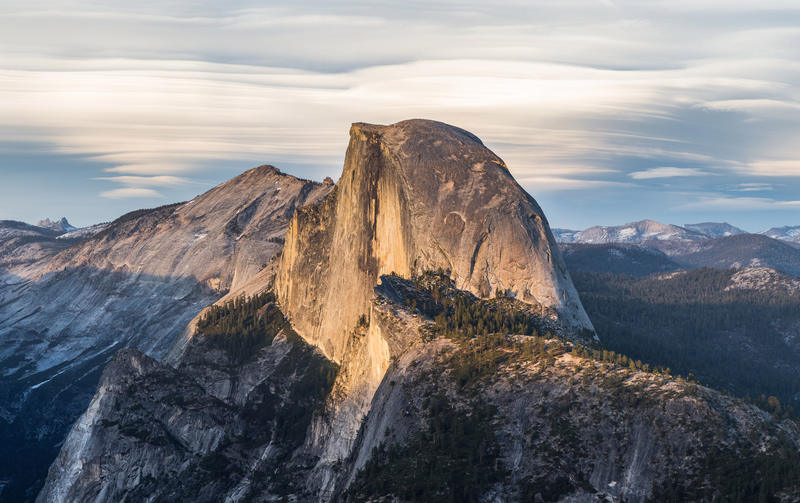
On long sustained climbs like the 4,800-foot grind up Half Dome in Yosemite or the relentless switchbacks of Colorado's fourteeners, set a steady rhythm and avoid frequent stops. Counterintuitively, many short rests cost more total energy than one well-timed break every 45 to 60 minutes. When you do stop, keep it brief, drink water, and eat a small carbohydrate snack before your heart rate drops too far.
Footwear and Traction
Steep terrain punishes the wrong shoes. For descents especially, your footwear is what stands between you and a slide. Look for these features:
- Deep, multidirectional lugs -- 4mm or deeper for grip on dirt and gravel
- A sticky rubber compound -- Vibram Megagrip and similar compounds bite far better on wet rock than budget outsoles
- A heel brake -- a defined heel edge lets you dig in on loose downhills
- A snug heel and locked-down lacing -- prevents your toes from jamming the front of the shoe on descents, which is the main cause of black toenails and blisters on steep hikes
On packed snow or ice, add microspikes; on frozen, exposed slopes you may need crampons and an ice axe, which require separate training. For loose scree fields, plant your heel first and let your foot slide a few inches in a controlled "scree ski" rather than fighting every step.
Switchbacks: Use Them, Do Not Cut Them
Switchbacks exist to keep the grade walkable and the trail from eroding. Cutting across them to save a few steps is tempting but destroys the trail bed, triggers erosion, and is steeper and more dangerous than the built path. Stay on the trail, take the corners wide, and use each turn as a natural micro-rest by briefly straightening your legs at the apex. On heavily switchbacked classics like the Bright Angel Trail or the climb to Sky Pond in Rocky Mountain National Park, this discipline keeps both you and the trail intact.
Building Strength Before the Trail
Technique only takes you so far if your legs are not conditioned for vertical. In the weeks before a big climb, train the specific muscles steep hiking demands:
- Step-ups and box step-downs -- mimic uphill and downhill loading; add a loaded pack to match trail conditions
- Eccentric lunges and squats -- the slow lowering phase builds the quad control that prevents downhill knee pain
- Stair or hill repeats -- the closest match to real trail demand; carry your actual pack weight
- Calf raises -- steep uphill pushes through the calves, a common early fatigue point
Start training at least four to six weeks out and increase volume gradually. Strong, prepared legs turn a brutal climb into a steady, enjoyable one -- and make every summit view worth the work.
How to Hike Steep Terrain: Uphill and Downhill Techniques FAQs
The rest step is a mountaineering technique where you briefly lock your back (downhill) knee straight with each step on very steep terrain. This transfers your body weight to your skeleton instead of your muscles, giving your quads a momentary rest. It dramatically reduces fatigue on long, sustained climbs.
Slow down and shorten your steps. Most hikers go too fast and too long before resting. Aim for a pace you can maintain while holding a conversation -- slower than you think. Use the rest step technique, breathe rhythmically, and take short rest breaks every 20-30 minutes on sustained steep climbs.