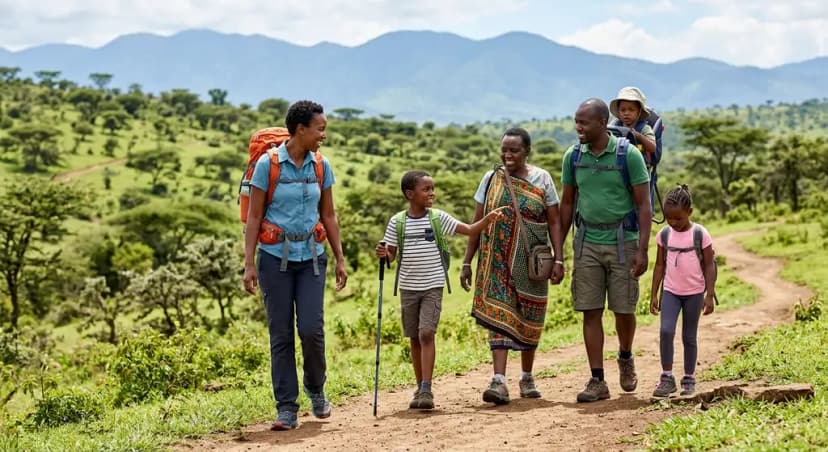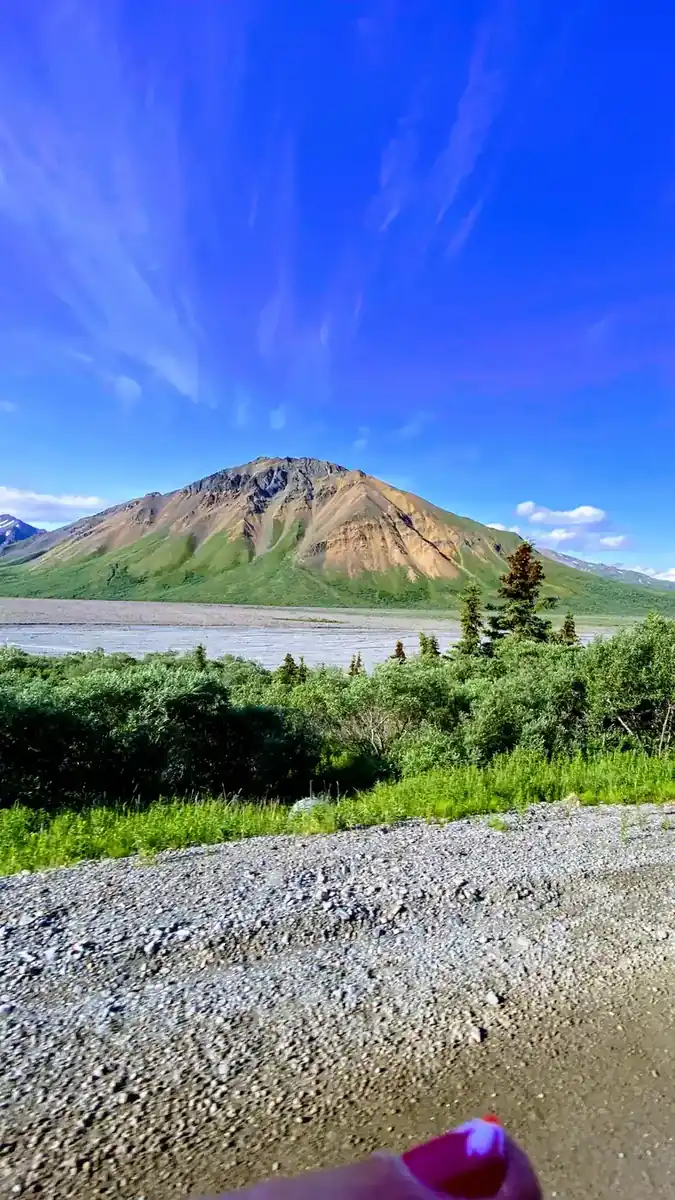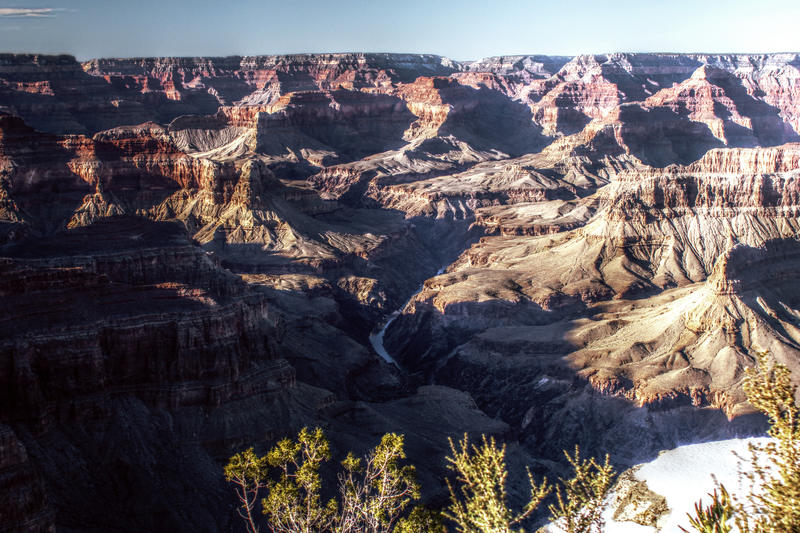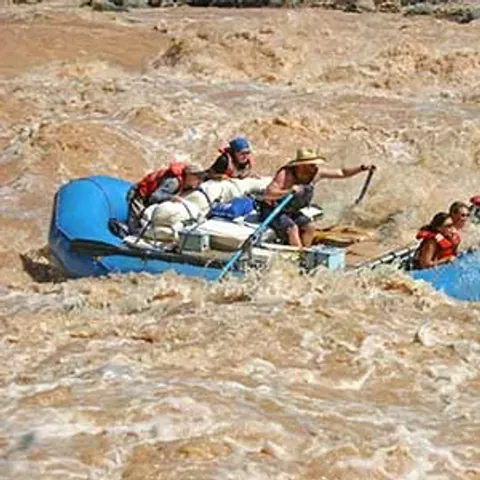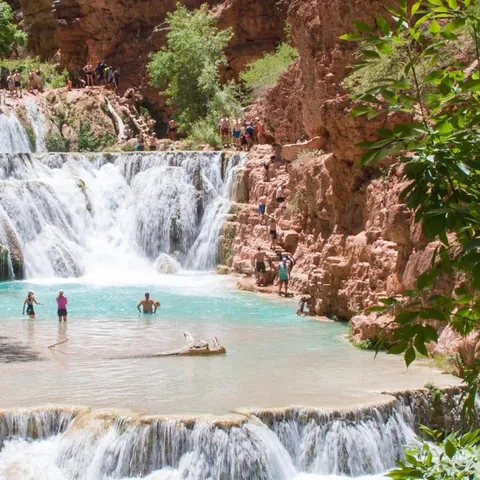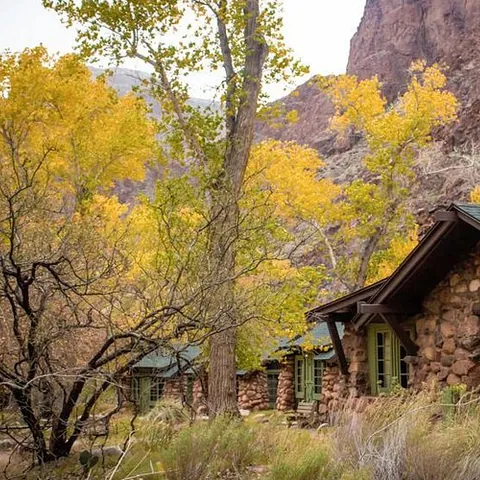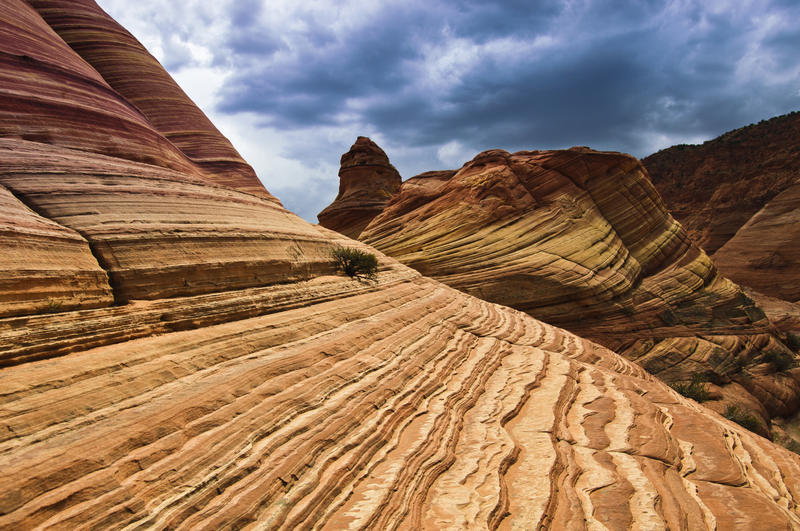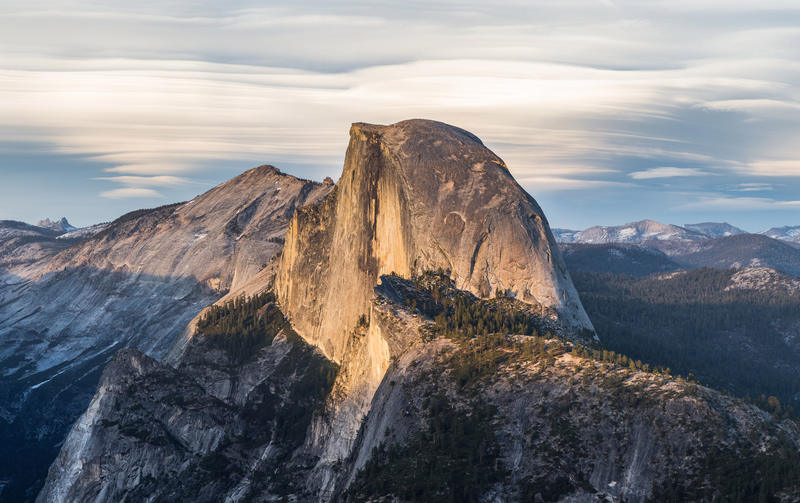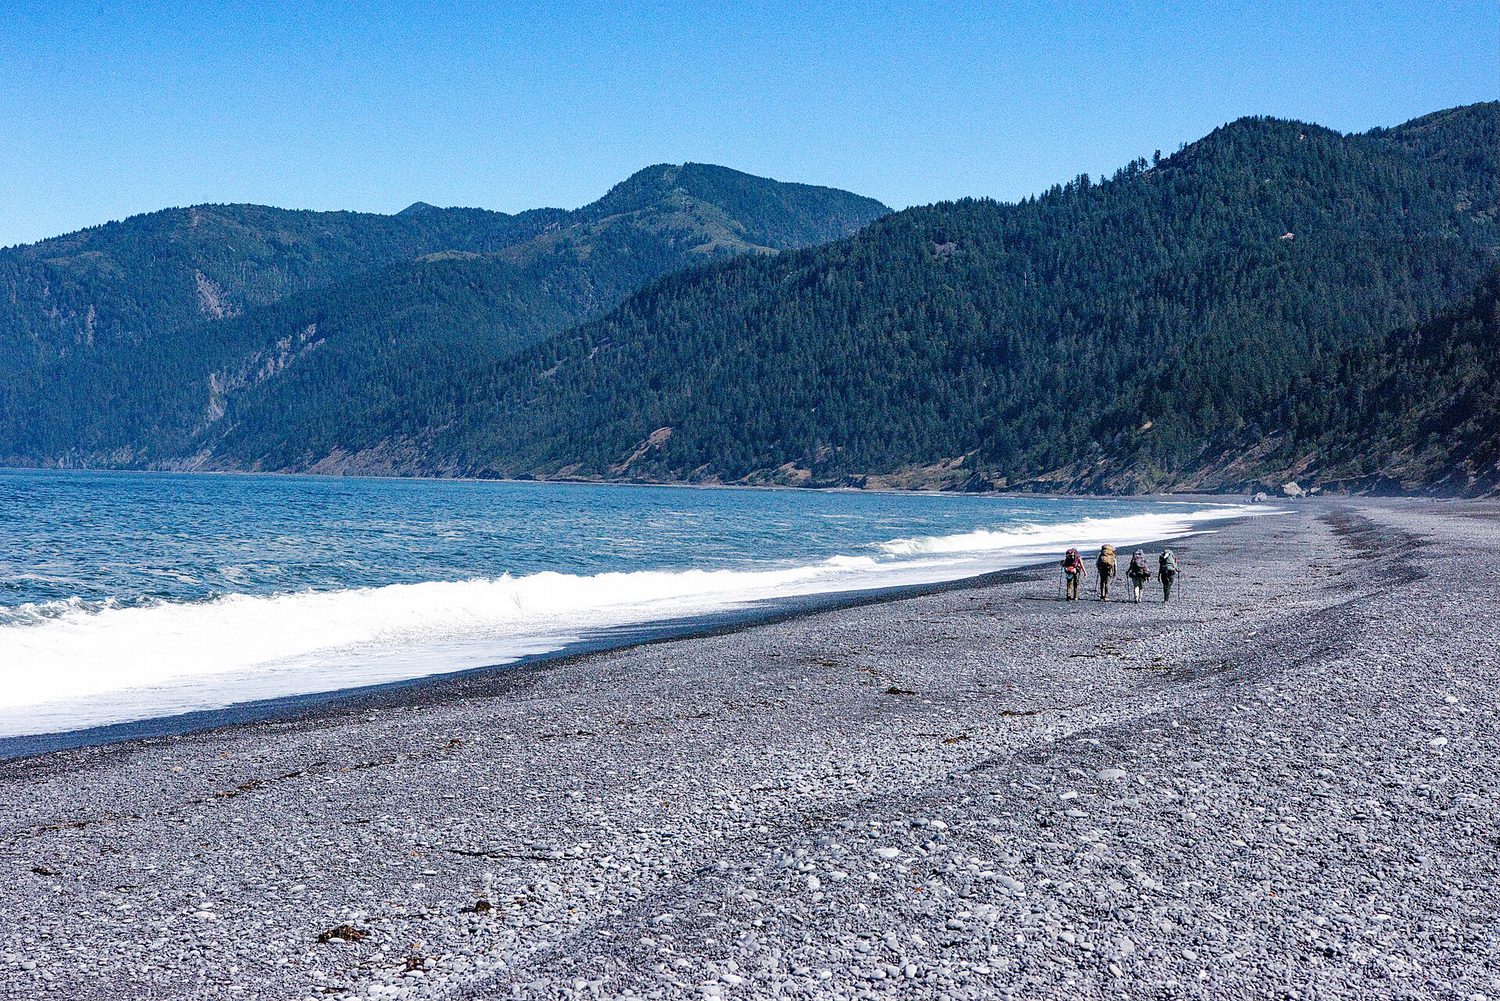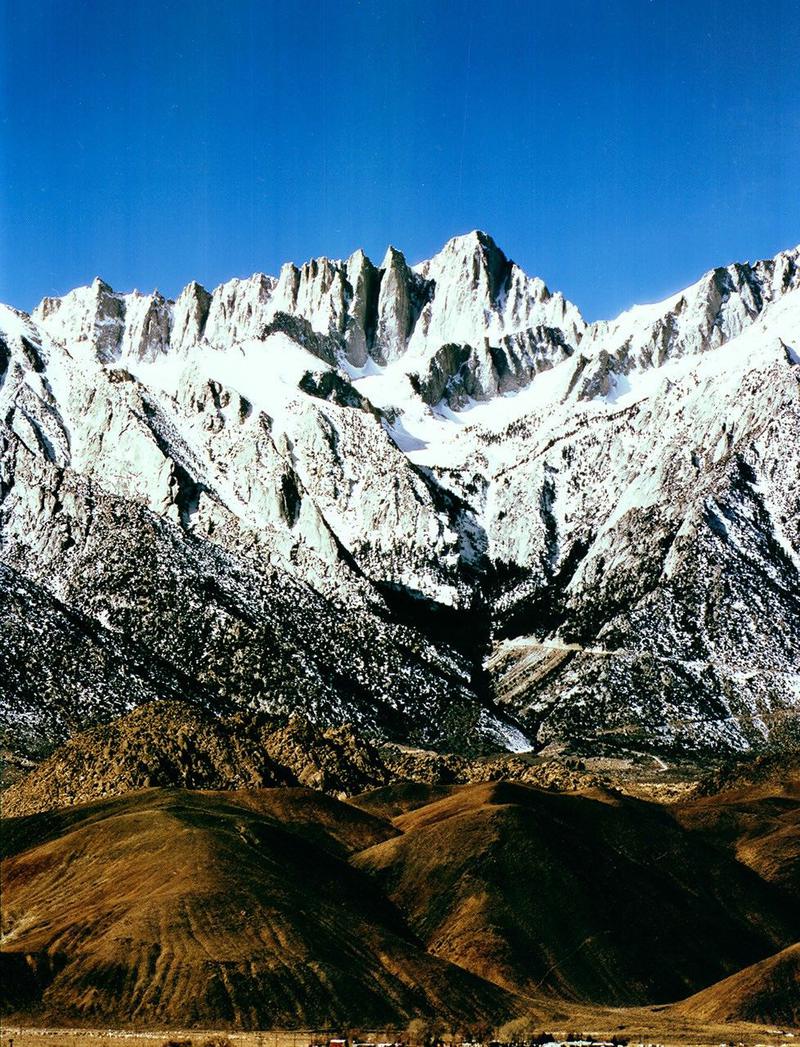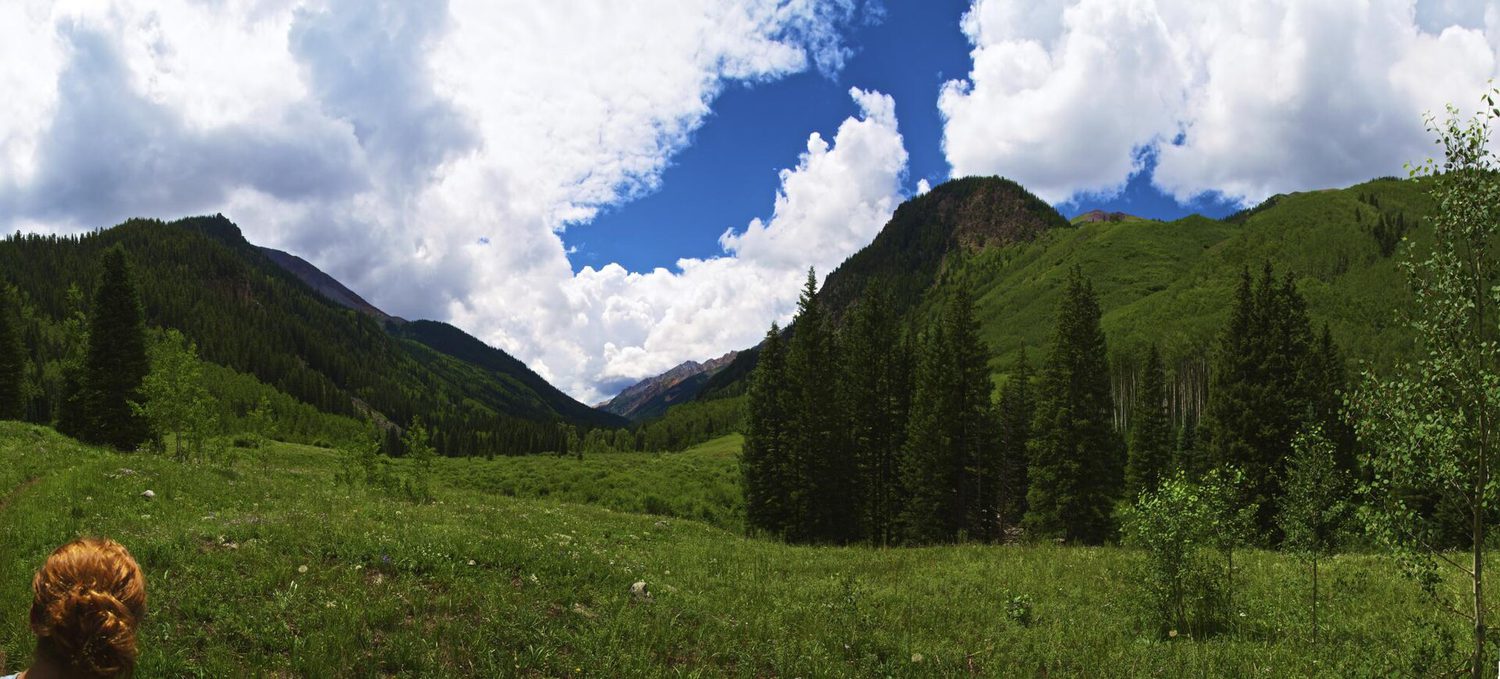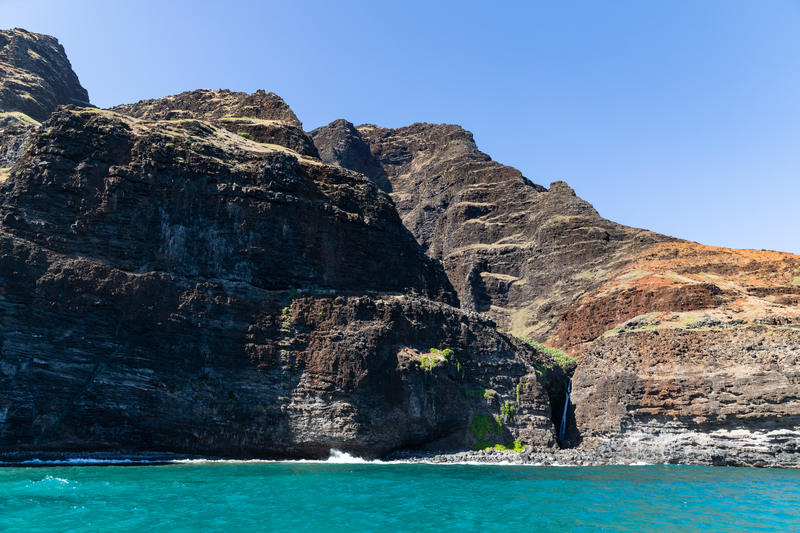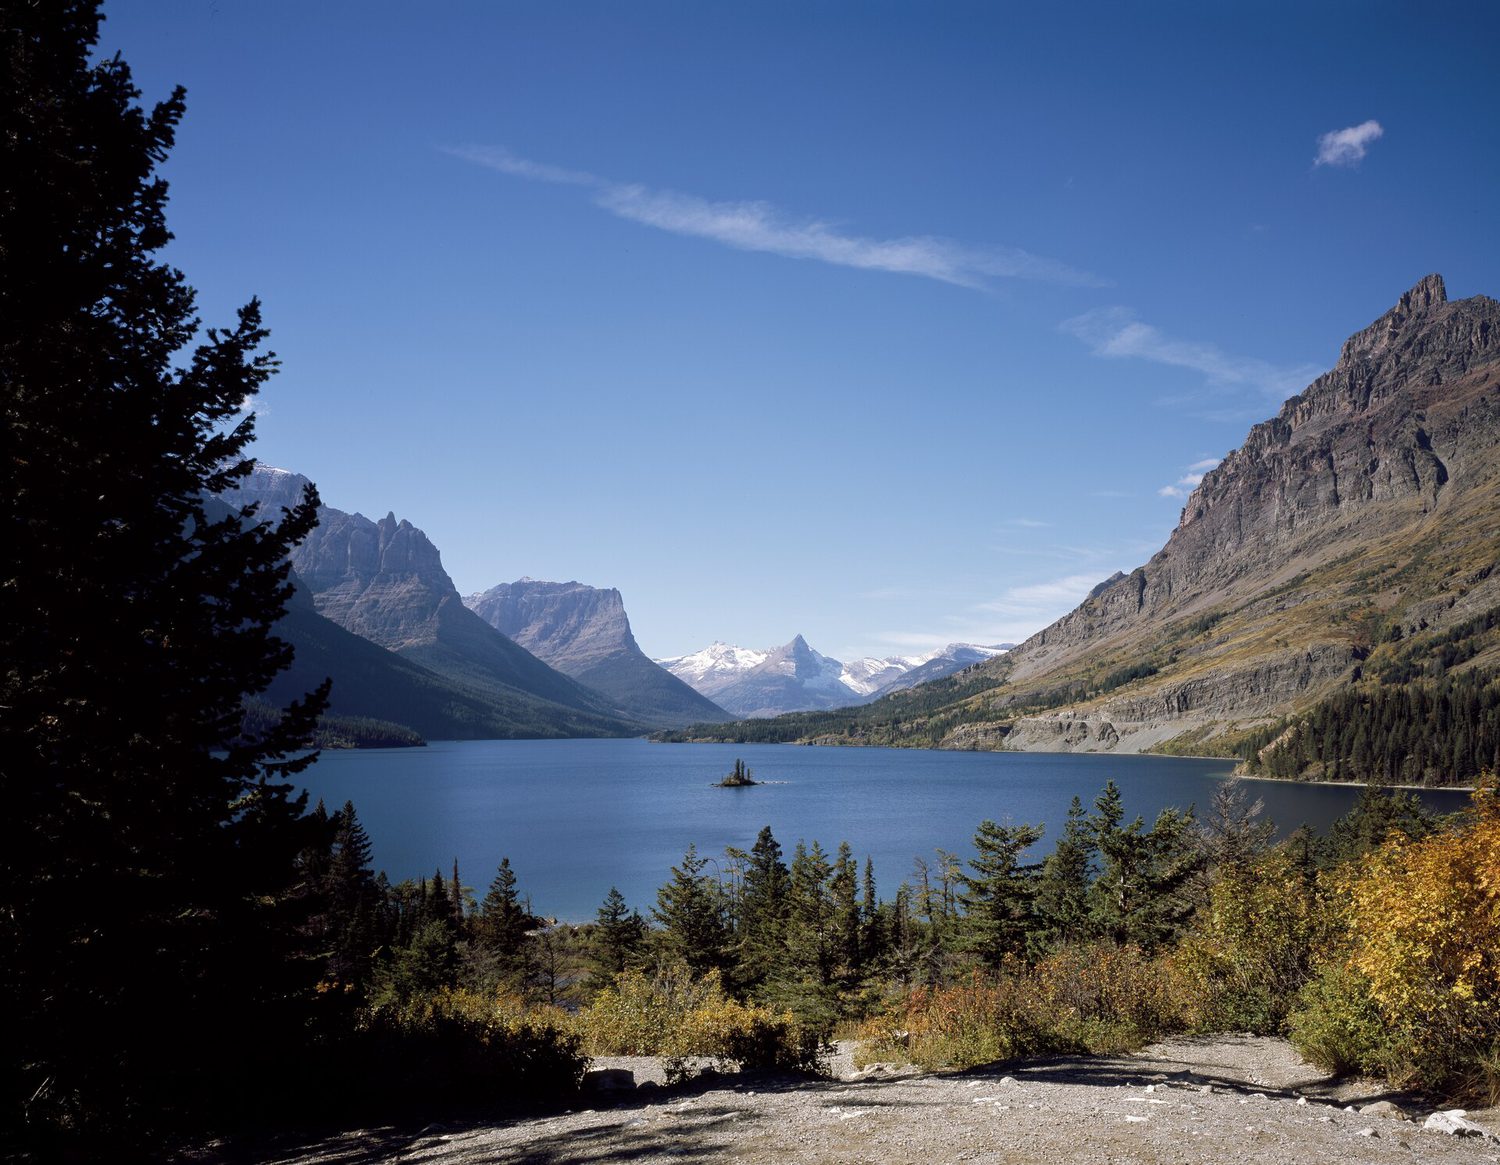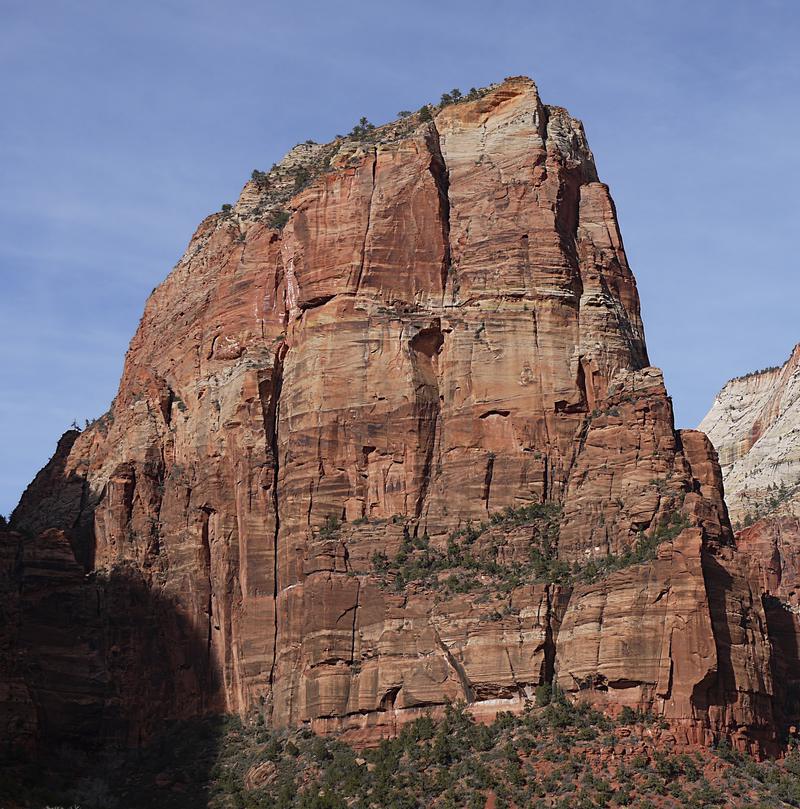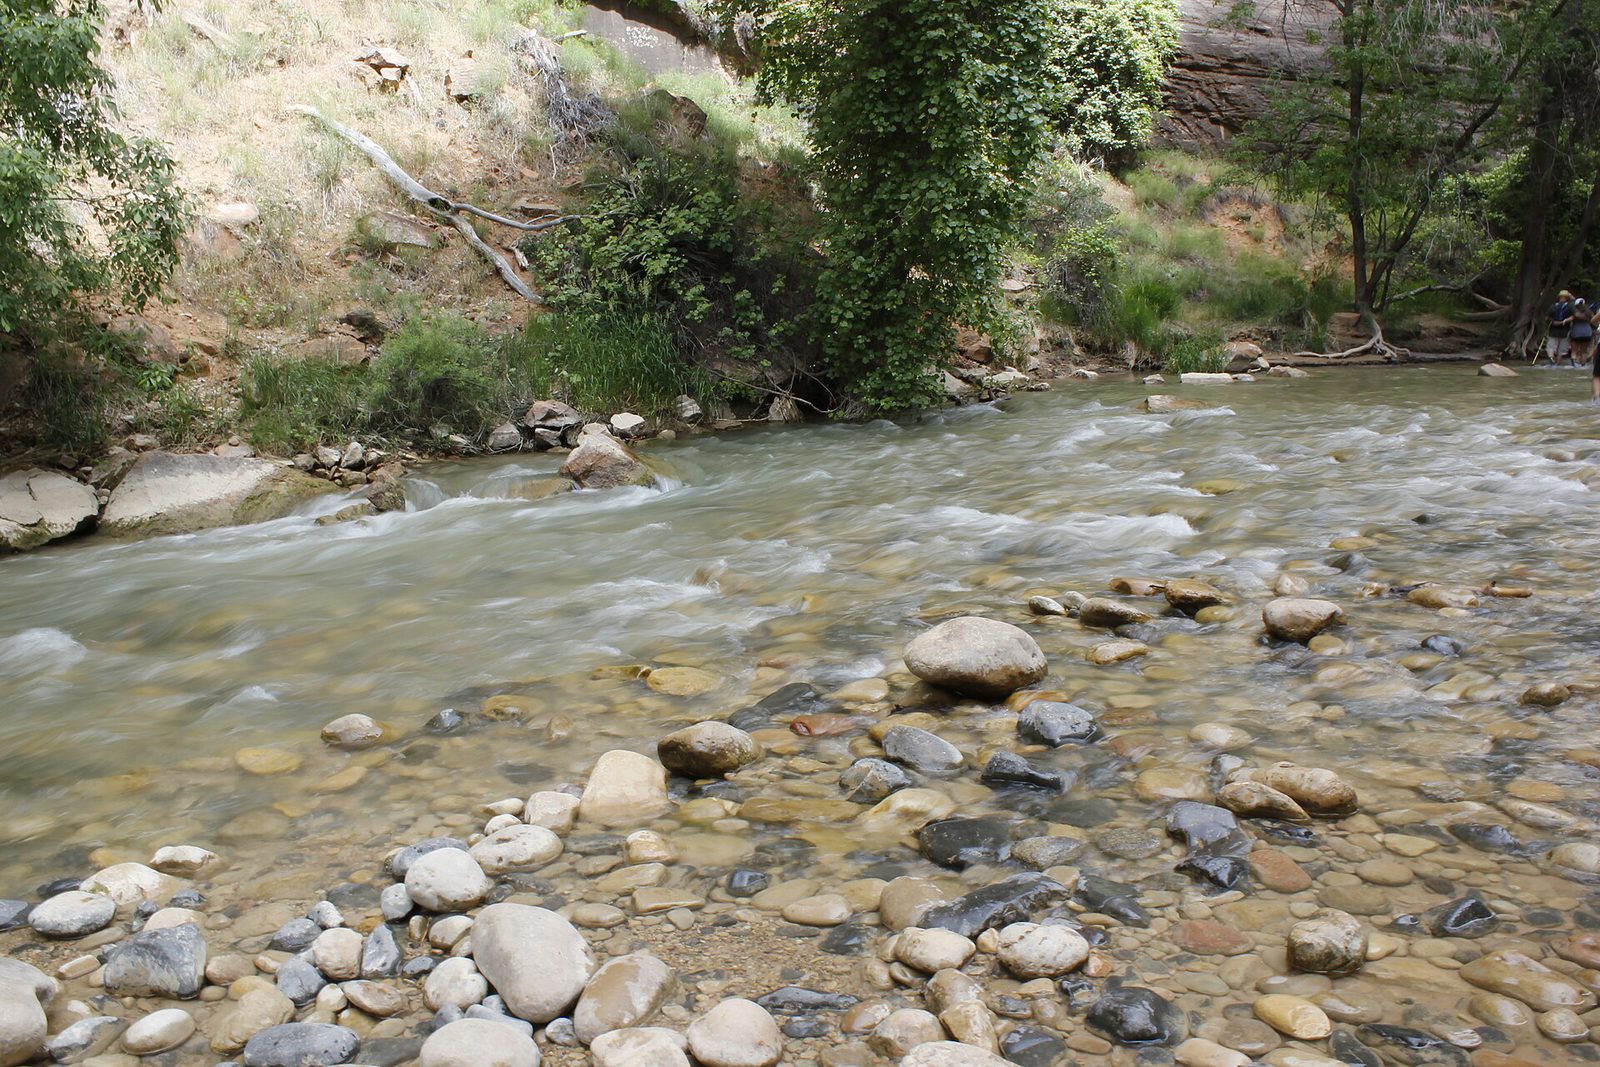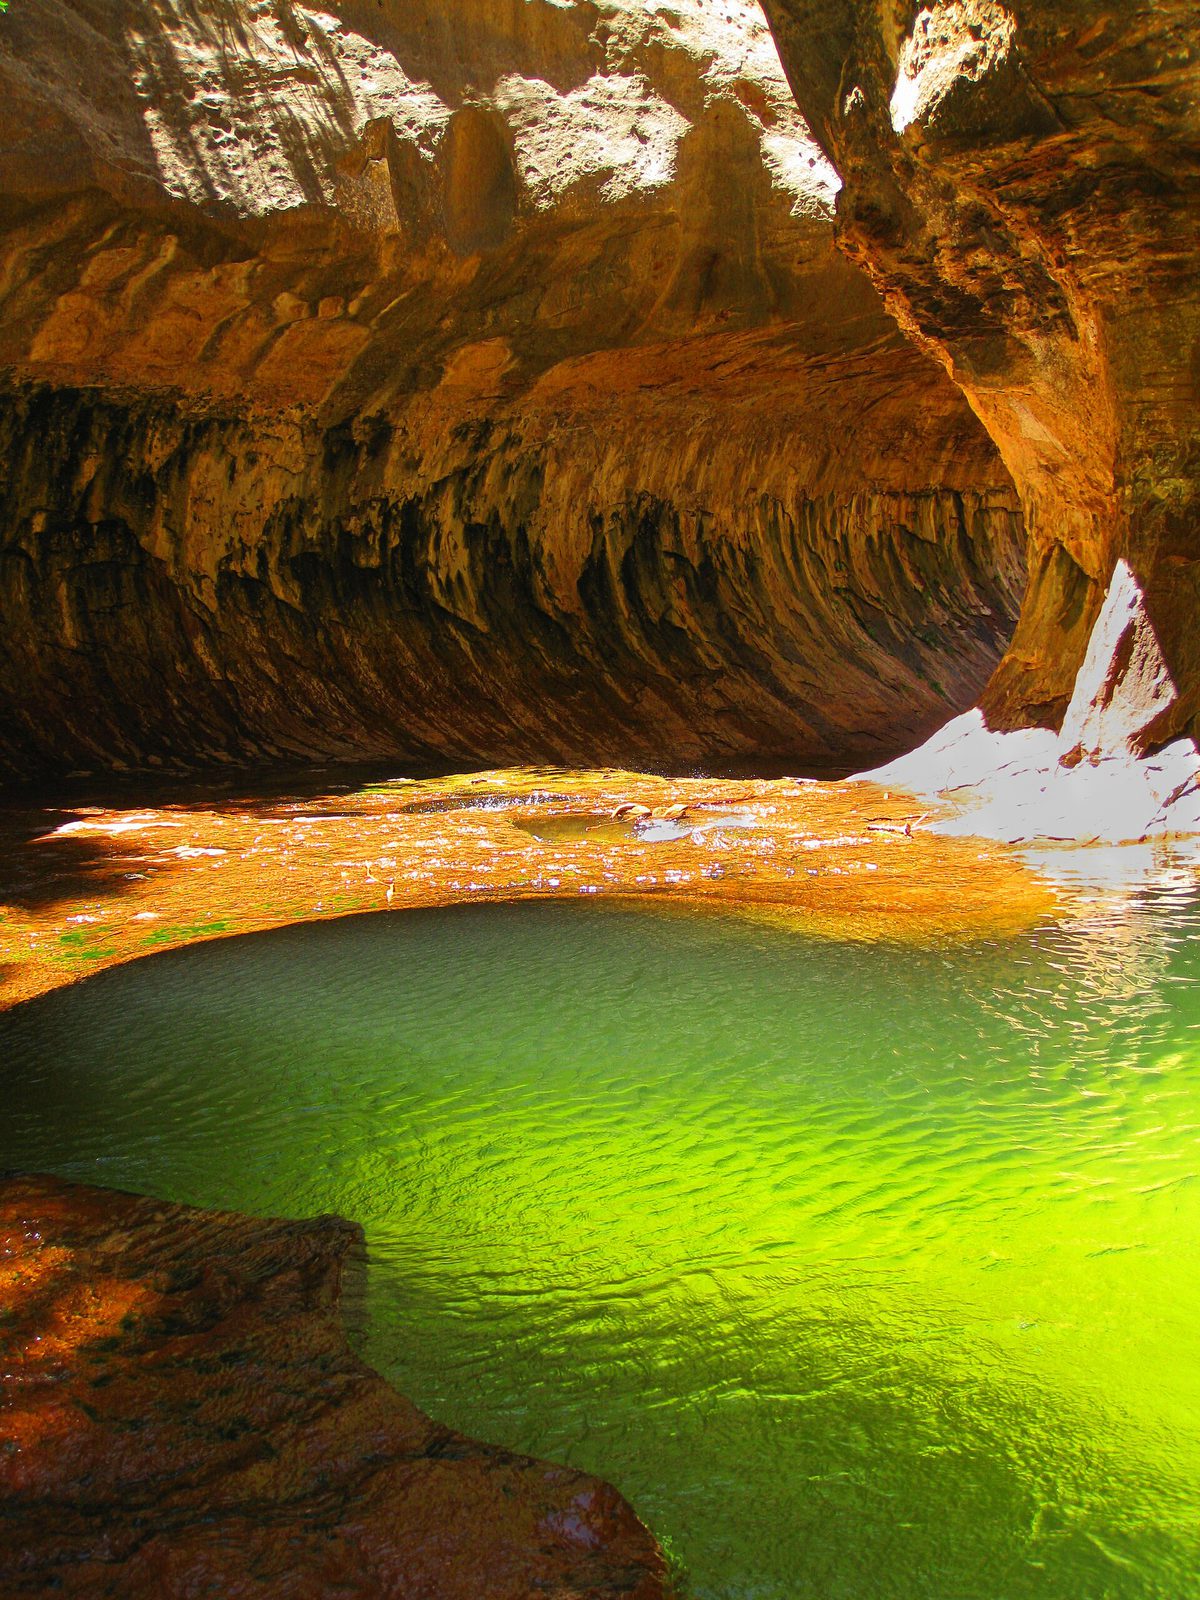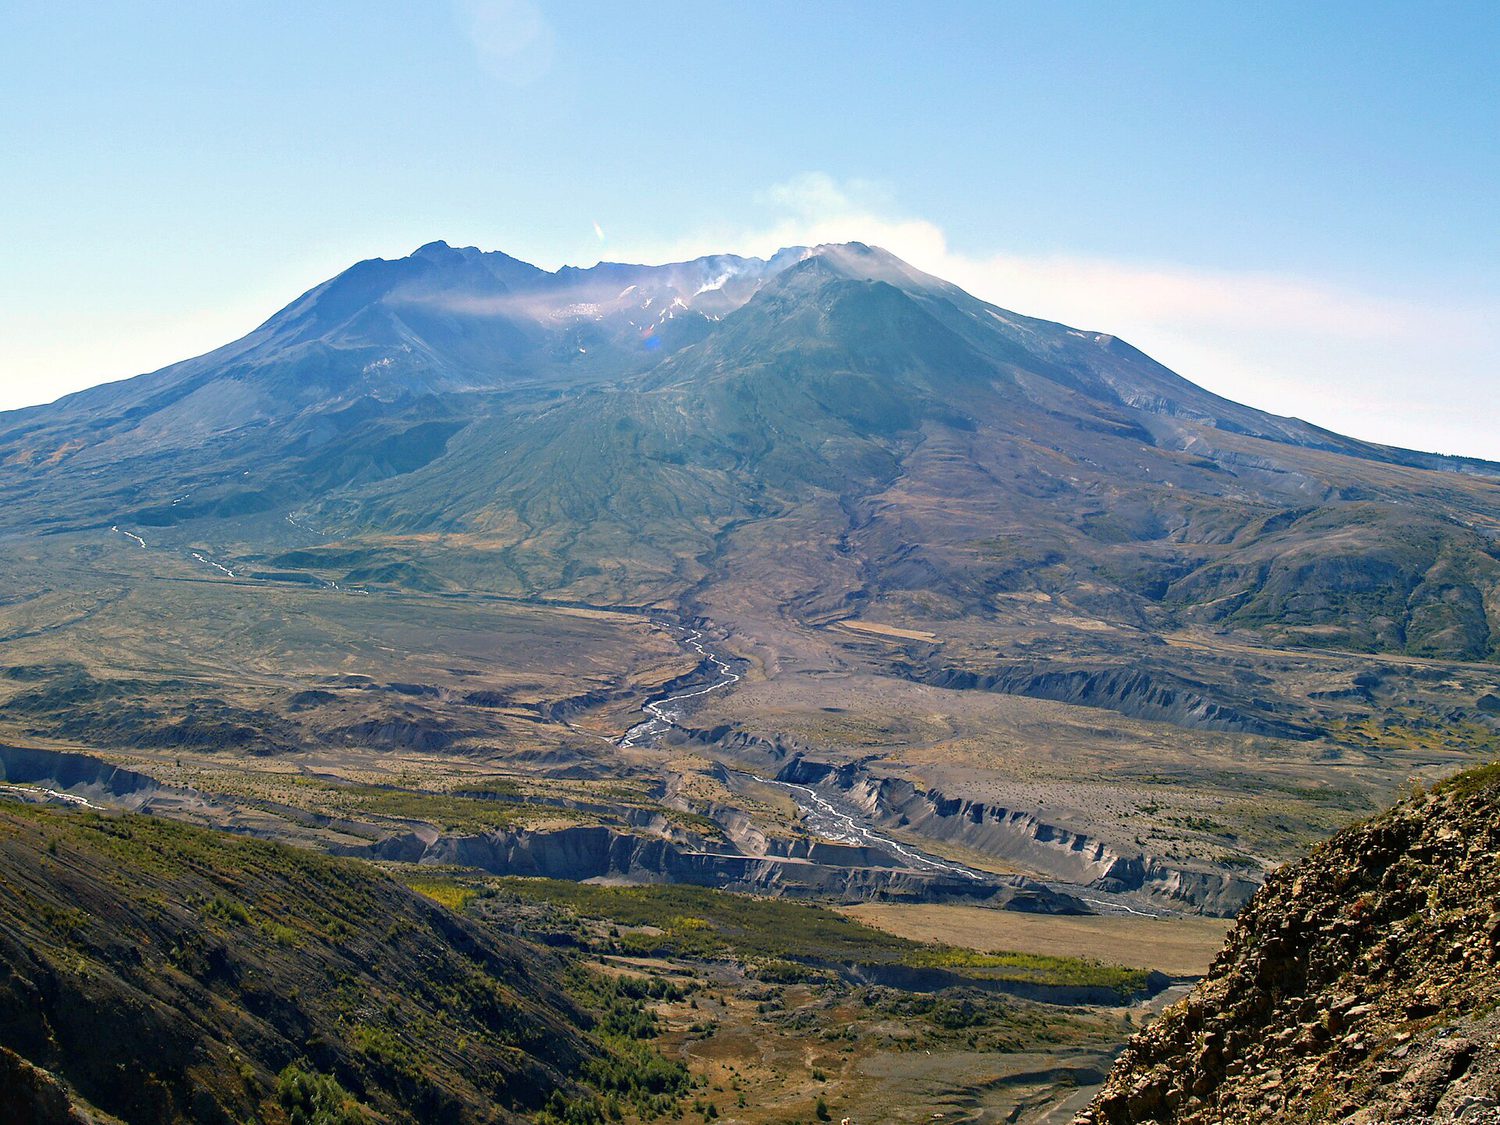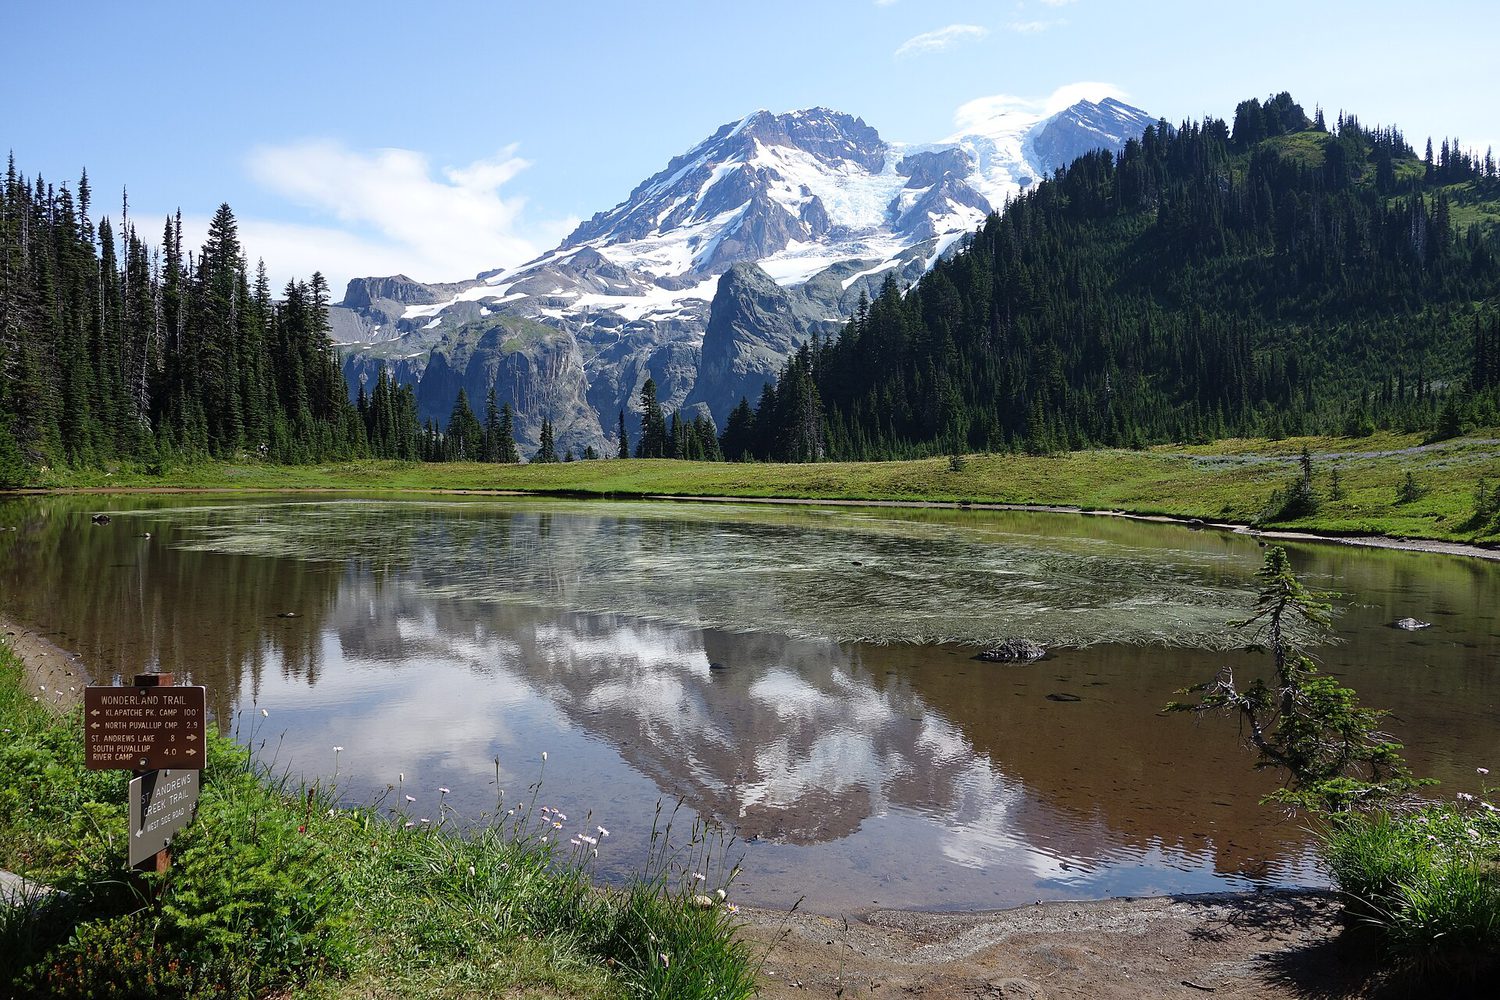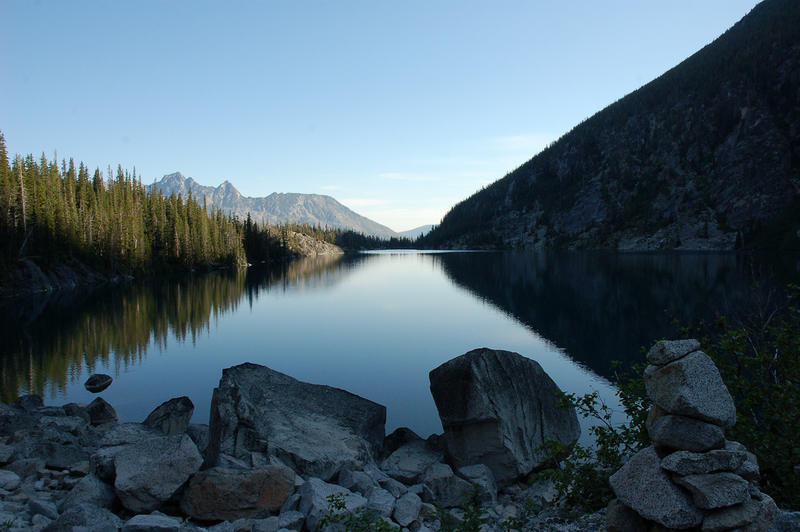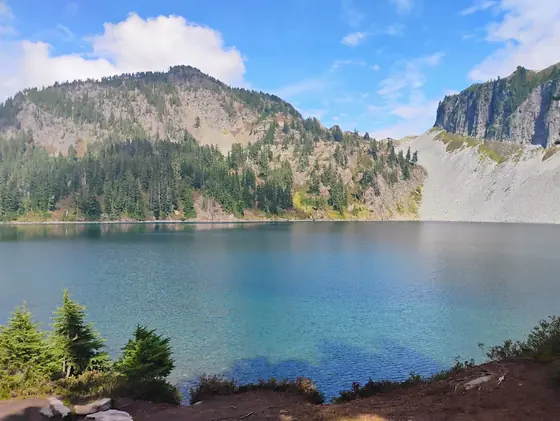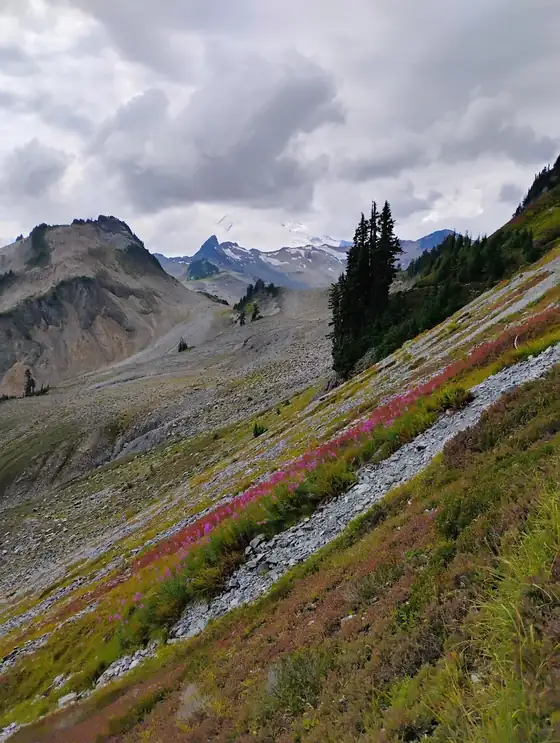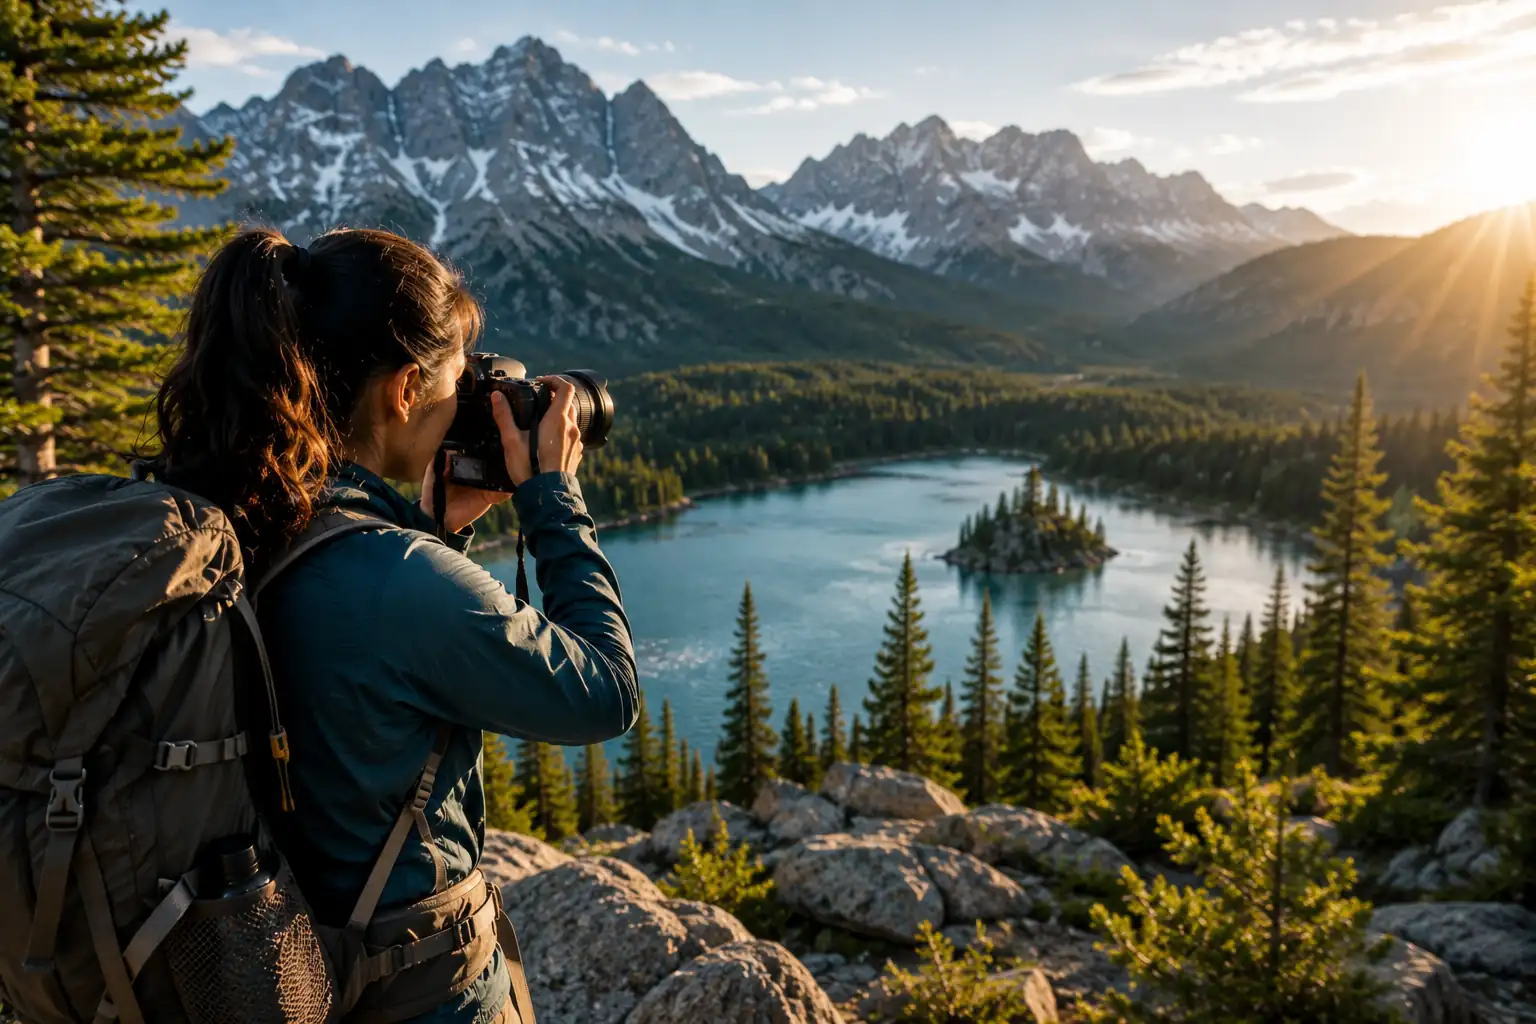
Some of the most beautiful photography subjects on earth are accessible only on foot -- alpine meadows at golden hour, misty waterfalls in old-growth forests, wildlife in its natural habitat. Whether you shoot with a smartphone or a mirrorless camera, these hiking photography tips will help you capture images worth framing without slowing your pace or wrecking your back.
Choosing Your Camera Setup
- Smartphone -- modern iPhones and Androids capture excellent landscape photos. Keep it in a chest harness or easy-access pocket for quick draws.
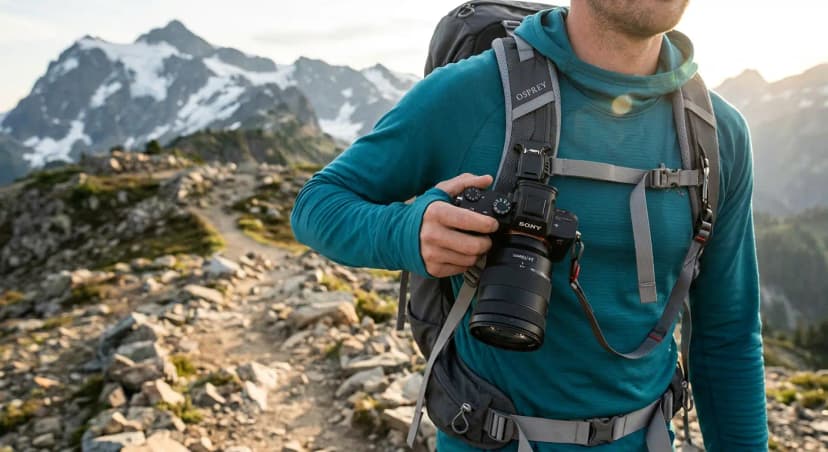
- Mirrorless camera -- a Sony A7 or Fujifilm X-T series gives professional results at reasonable trail weight. A single prime lens (24mm or 35mm) is lighter and often sharper than a zoom.
- Action camera -- GoPro or DJI Action cameras handle sweat, rain, and dust and are ideal for adventure video.
The Golden Hours Rule
The hour after sunrise and before sunset produce the softest, most colorful light of the day. Plan your most photogenic sections of trail for these windows. Start hiking early to catch dawn at the summit -- you will have better light and fewer people in your shots.
Landscape Composition Basics
- Rule of thirds -- place the horizon on the upper or lower third, not the center
- Leading lines -- trails, rivers, and ridgelines draw the eye into the frame
- Foreground interest -- a wildflower, rock, or puddle reflection in the foreground adds depth
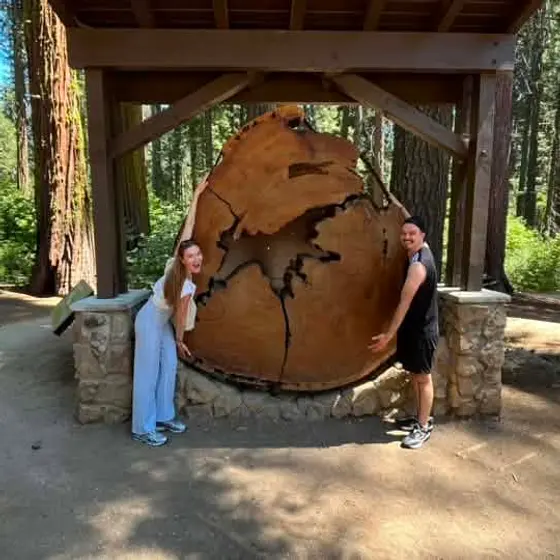
- Include scale -- a person in a mountain landscape shows how grand the scene truly is
Wildlife Photography on the Trail
Patience and quiet are everything. Move slowly, stay downwind, and use your telephoto zoom (or get closer carefully). Never approach or feed wildlife for a shot -- it is dangerous and unethical. The best wildlife images come from waiting at known feeding or watering spots near dusk and dawn.
Dialing In Your Camera Settings
Good trail photography is less about expensive gear and more about understanding three controls. For sweeping landscapes, set your aperture to f/8 or f/11 to keep both the foreground wildflower and the distant peak in focus. For wildlife, open up to f/4 or f/5.6 to blur the background and isolate your subject.
- ISO -- start at 100 in bright daylight to keep images clean; only raise it in shade or low light, where ISO 800 to 1600 is usually still acceptable on modern sensors.
- Shutter speed -- freeze a flying bird with 1/1000 second or faster; to render a waterfall as silky motion, drop to 1/4 second or slower and brace the camera on a rock.
- Exposure compensation -- dial in +1 stop on bright snow or sand so they look white, not gray, and -1 stop to protect a colorful sunset sky.
If settings feel overwhelming, shoot in aperture-priority mode and let the camera handle the rest while you control depth of field.
Packing Camera Gear for the Distance
Every ounce matters when you are covering ten miles with elevation gain. Carry only what earns its place in the pack.
- One versatile lens beats a heavy kit -- a 24-105mm zoom or a single 35mm prime handles most scenes.
- A lightweight travel tripod (carbon fiber under 3 pounds) is worth it for waterfalls, star fields, and self-portraits; a pocket tabletop tripod is a featherweight compromise.
- Spare batteries drain fast in cold; keep them in an inside pocket close to your body heat.
- Microfiber cloth and a gallon zip bag protect your gear from spray, dust, and sudden rain at almost no weight.
Distribute weight by keeping the camera body in a top-loader pouch on your hip belt or sternum strap so it is reachable without removing the pack.
Best U.S. Trails for Nature Photography
Some routes reward photographers more than others. The Cascade Pass trail in North Cascades National Park, Washington frames jagged glaciated peaks with summer wildflowers in July and August. Maroon Bells near Aspen, Colorado delivers the most photographed mountain reflection in North America, peaking with golden aspens in late September. For desert drama, the Delicate Arch trail in Arches National Park, Utah glows orange at sunset. In the Southeast, the Lost Mine Trail in Big Bend, Texas offers layered Chisos Mountain ridgelines best shot in the cool, clear days of November through March. Plan your visit around each location peak season and you will return with frame-worthy images.
Protecting the Landscape You Photograph
The Leave No Trace ethic matters as much for photographers as for any hiker. Stay on durable surfaces and resist the urge to trample fragile meadows or cryptobiotic desert soil for a better angle -- those crusts take decades to recover. Do not pick wildflowers, stack rocks, or geotag sensitive locations that could draw crowds to a delicate spot. The goal is to come home with the photo and leave the scene exactly as you found it for the next person.
How to Photograph Nature While Hiking FAQs
A chest harness (like Peak Design Capture) lets you quickly draw a camera without removing your pack. For longer lenses, a side pouch or top-lid pocket works well. The key is keeping the camera accessible enough that you actually use it, not buried in your pack.
Enable low-power mode, reduce screen brightness, turn off Bluetooth and WiFi when not needed, and carry a small USB battery bank (10,000mAh adds negligible pack weight). Take burst shots only when needed -- single shots use much less power than video.